 Home
Home Forward
|
Home |
Forward |
PAGE 45
Saturday 11/05/05 - Sunday 11/13/05

|
10.0 hours |
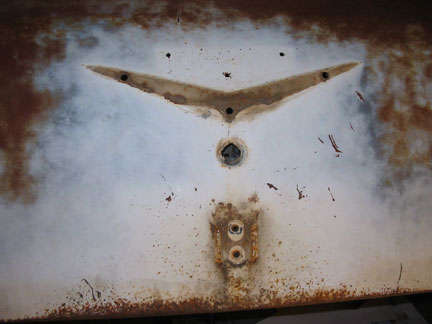
While the donor 1956 trunk lid is mounted to the car I thought it was a good time to strip it down.
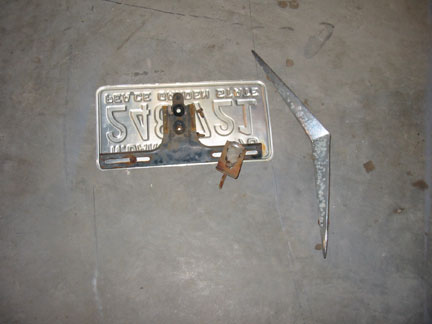
Here you can see the lock cylinder, silver V and the license plate bracket have been removed.
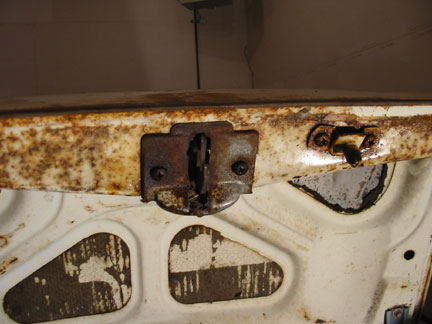
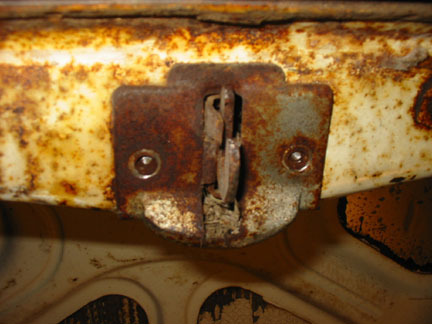
In the photo on the left you can see the trunk latch and alignment pins screws, on the right is a look from inside the trunk showing three screws that need to be removed in order to free the latch from the lid.
I soaked all the screws down with penetrating oil for awhile. I really don't think I'll have a problem removing these given the terrific condition of the trunk lid.
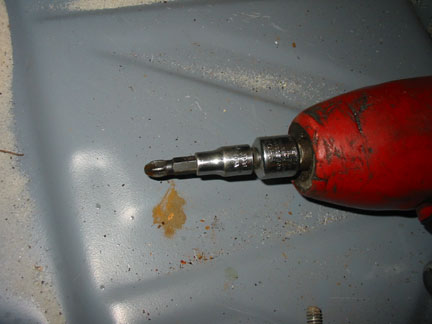
Here's what I've used to remove other large frozen screws on the old gal. It's my 3/8ths impact with a 1/4 inch adapter to accept a Phillips screw bit.
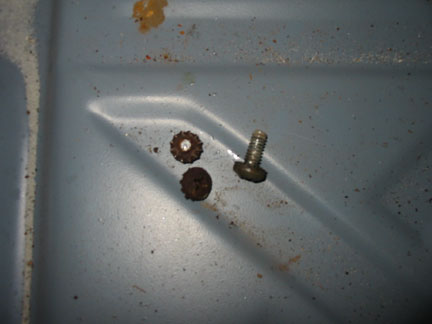
These two screws snapped off immediately! The three screws on the inside of the trunk lid came out very easily.

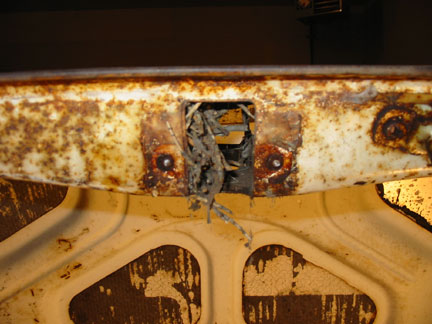
OHHH BOY!
There's been some critter homesteading action in here! Fortunately all I found was sticks and twigs, nothing icky.

Here's the trunk latch assembly from the 56 trunk lid after removing it from the forest inside the trunk.
Its frozen up a bit and will need some work.
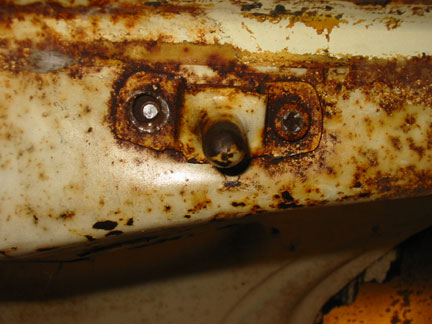
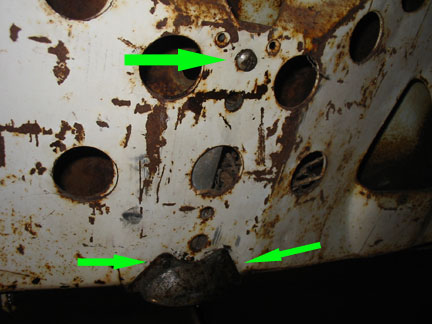
A close up of the aligning pin mounting. The screw on the left popped it's head right off and the right screw refused to turn. It just rounded out the inside of it.
I'll drill out and re-tap all these broken screws.
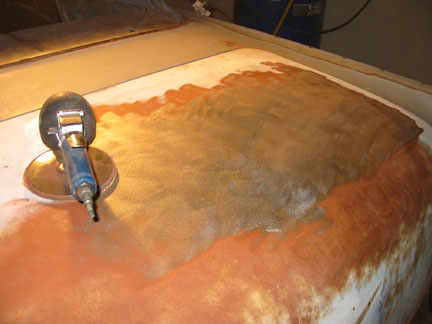
For no reason at all (other than avoiding cutting out the tail pan) I broke out my DA (Dual Action) sander and began stripping the paint and patina (OK, OK I know it's rust). It's really nice to see the bright shiny metal underneath.
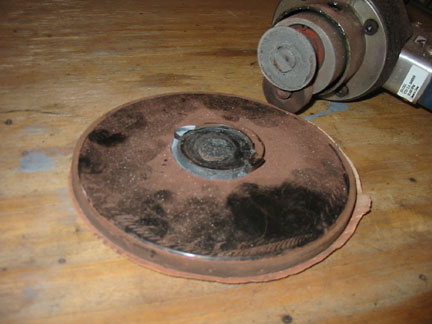
Here is why cheap equipment is not a bargain!
The pad on my DA gave up about halfway through the sanding project.
Not a big setback , it's just a bit frustrating.
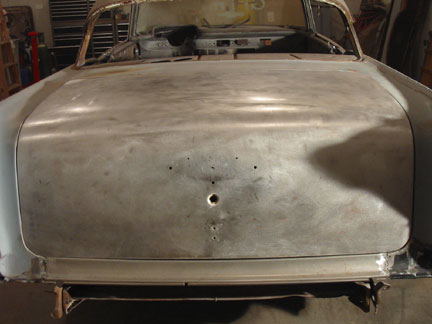
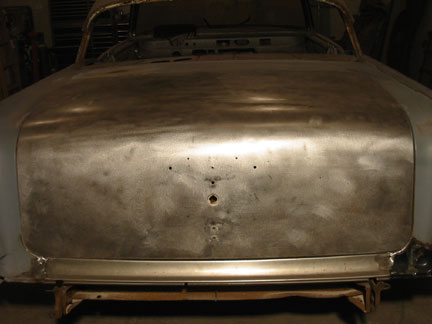
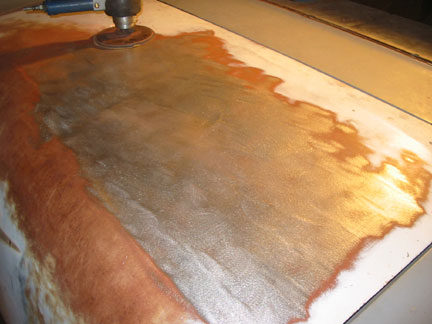
After repairing the DA and a few sanding disks the lid is down to some awfully good looking shiny metal.
It's nearly as good as the day it was delivered to GM, and it doesn't require any rust repair!!
This is a first for me.
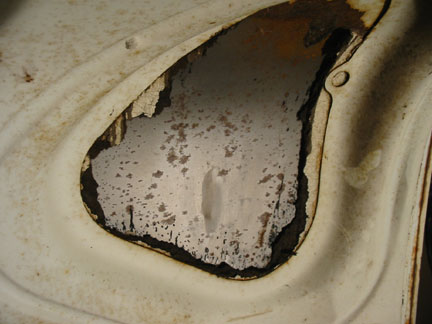
When I tore a small piece of the insulation from the inside of the trunk lid I was shocked to find the bare metal of the inside of the trunk skin to be bare metal and rust free, it's really shocking!
I was really lucky to find such a pristine part after 50 years of use.

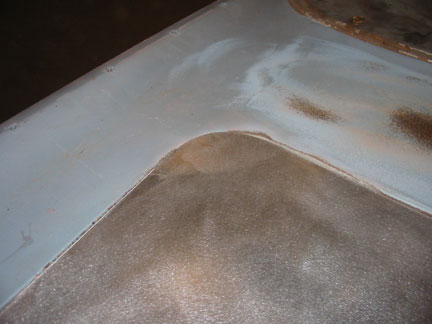
The ONLY flaw of this trunk lid. At some point in time someone closed the lid with something in the drivers front corner of the trunk opening. It softly bent the drivers front corner up a bit.
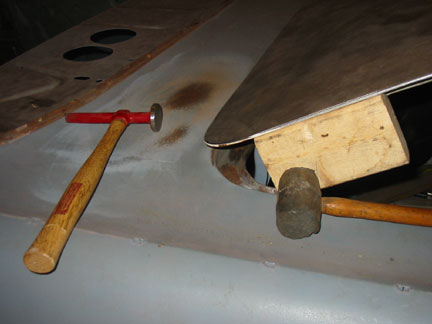
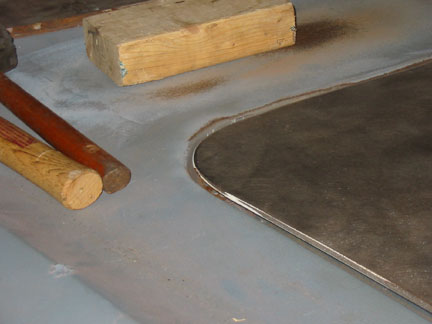
After using a small block of 2x4, a rubber mallet, body hammer and a dolly, it straightened right out.
Go to page 1 2 3 4 5 6 7 8 9 10 11 12 13 14 15 16 17 18 19 20 21 22 23 24 25 26 27 28 29 30 31 32 33 34 35 36 37 38 39 40 41 42 44 45 46 47 48 49 50
