 Home
Home Forward
|
Home |
Forward |
PAGE 19
Saturday 2/21/04 - Sunday 2/22/04

|
14.0 hours |
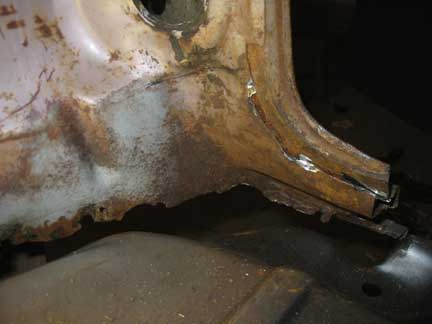
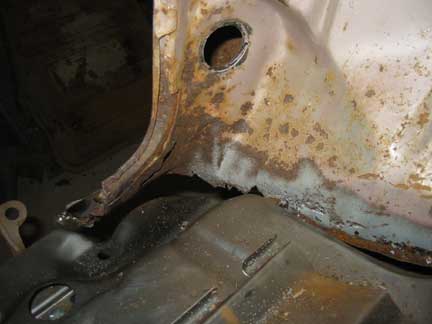
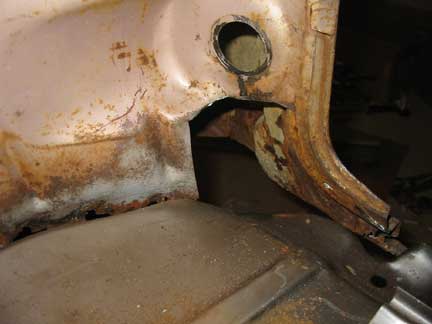
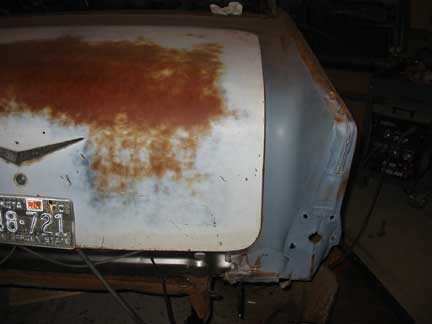
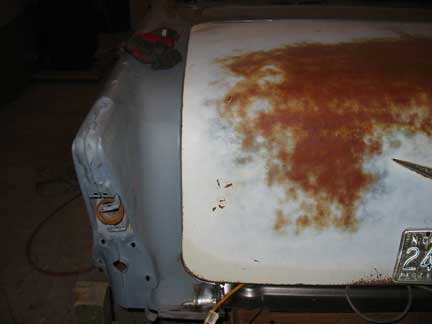
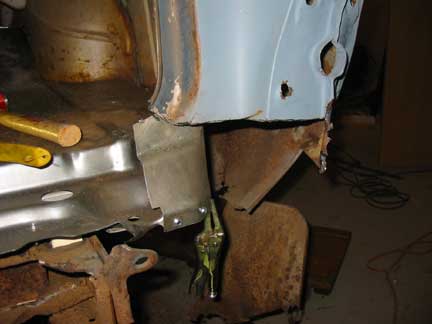
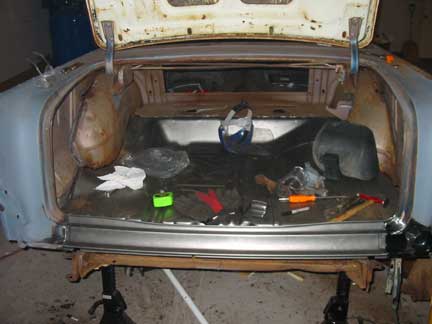
Here's what I've got to work with.
These are pics of the inner trunk wall at the trunk opening. It's so badly rusted I really don't know what should be here. I'm going to have to rely on pictures of others cars and the new pieces themselves to noodle it out.
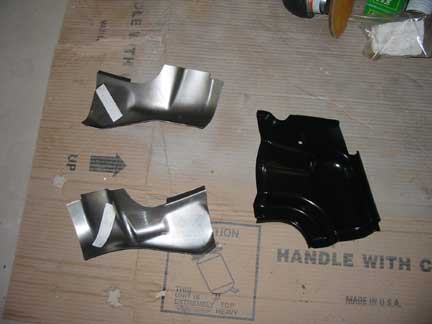
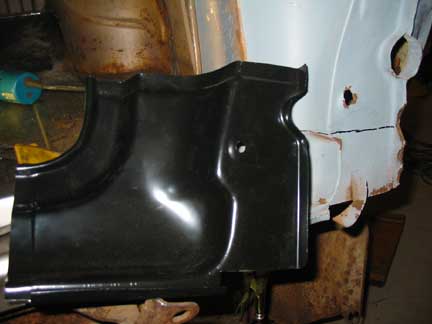
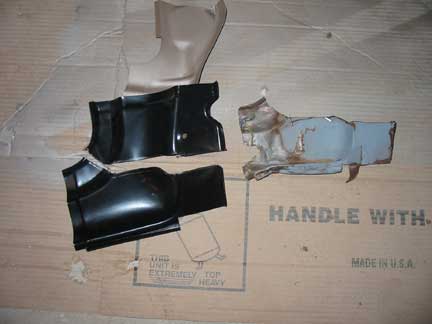
Here are my new patch panels. The two silver ones on the left are for the inner trunk corners and the black one is for the passenger outer dog leg. They look great! I can't wait to get all this pretty new metal in place of that old icky rusted stuff.
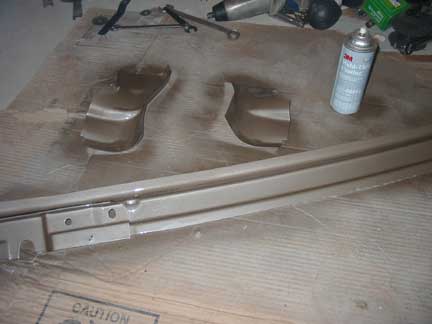
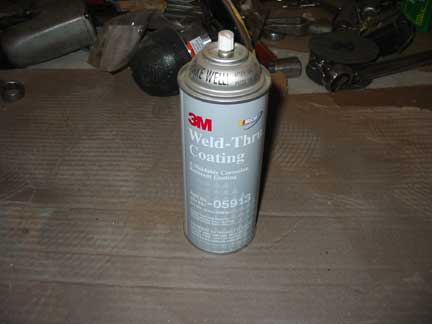
My first order of business was to prepare these parts for another 50 years of service. I have used this 3M weld through coating on the inside of sheet metal installed so far. It's supposed to protect against rust and allow welding with no negative effects.
My first indication of how things were going to go this weekend should have been that I painted the wrong side of the inner trunk corners.

After trial fitting the inner trunk corners dozens of times I came to realize again, like most every part I've purchased they are nowhere near the originals. Not even close!
They are however closer than what I have now and better than what I could fabricate. So I cut the old metal out and trimmed, bent, hammered cussed at and generally beat the poor innocent metal into a close replica of the original.
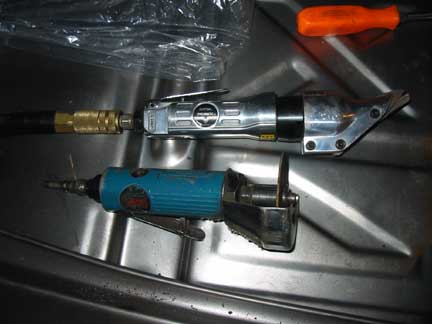
By the way these are the two tools I used to cut and shape these pieces. The top is a air powered metal snipper that leaves a very clean edge and then there is the always present cut off wheel.
Getting the trunk lid adjusted properly prior to cutting or installing any new parts is as critical as the the door alignment. I needed to add shims to the passenger side under the forward hinge bolt to bring it up and be flush with the rear deck. I worked it to get a nice even gap around the entire perimeter.
Here is the new part next to what I have now. It looks good now. I only want to cut and replace what is needed so I marked a line on the old girl where I wanted to cut.
A few sparks and several episodes of cleaning the metal out of my eyes, I had this.
I measured the new part, and compared it to the old. When I was sure I made my cut.
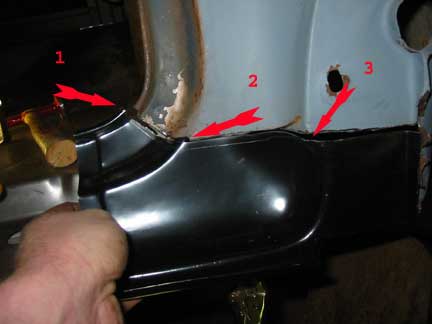
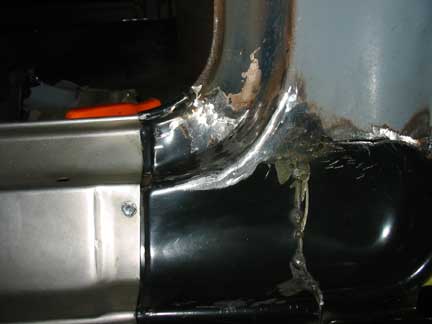
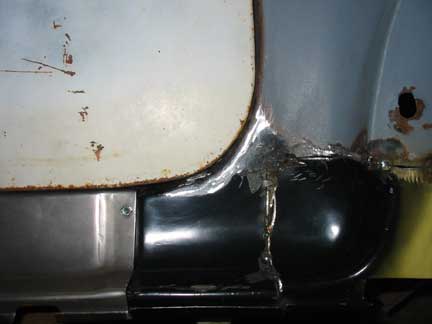
Once again I was deeply disappointed with the "replacement" part. I really don't expect these parts to fit perfectly but the should be a reasonably close copy! This is so far off from the original I wish I had left the old bent part on instead.
You may not be able to see the problem areas so I have numbered them. #1 is the lip on the inner trunk seam, way to wide, #2 is a very curvaceous bend where it should be a nice crisp bend and way too far to the center of the trunk opening and #3 is not even close to the original contour.
What a disappointment. The parts are not as advertised at all, It's like a really bad fake Rolex.
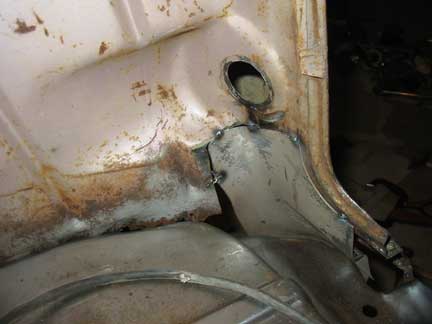
I tacked in the dogleg where it meets the outer quarter. I then used a body hammer and dolly to form it as close as possible. I worked from the outside in and went really slowly.
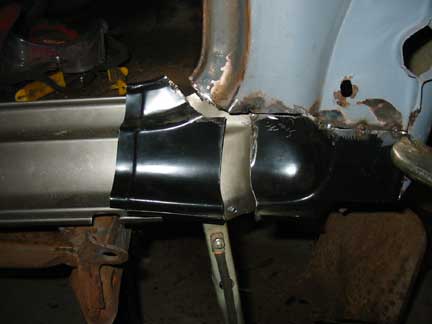
I realized there was just too much metal and it was going to extend into the trunk opening way too much to compensate for. I made the decision after much thought, eyeballing and cursing to cut the new part in half to bring it all together.
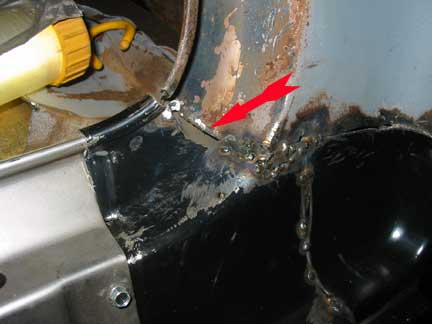
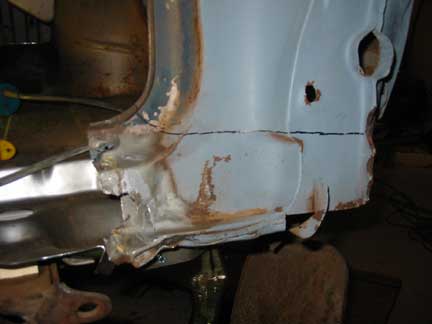
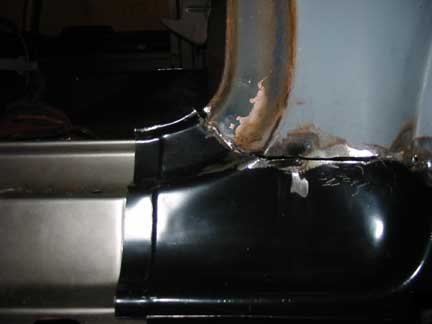
The red arrow on the left indicates a wide gap that was needed to be filled once I got the pieces to fit somewhat correctly. I used a very narrow piece of metal from my snipper to fill this area and welded it into place.
After alot of welding and much more grinding I arrived at this. A respectable gap and contour to the trunk opening.
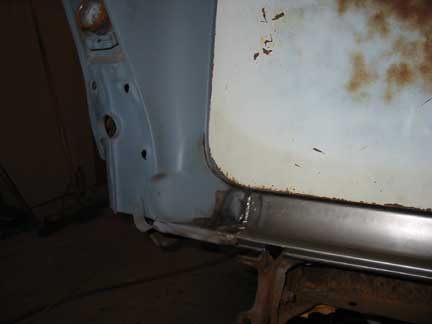
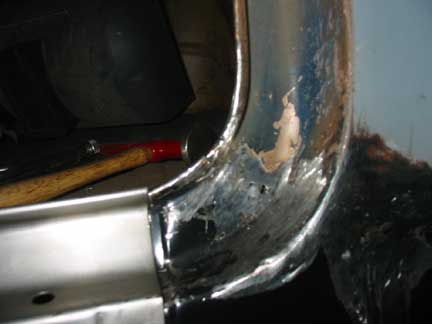
Here is the drivers side, I'm glad I only wasted my money on one of these parts. I would not recommend this part to anyone unless it's absolutely needed like mine. What should have been a 2 or three hour repair turned into an all day project. And it was no fun.
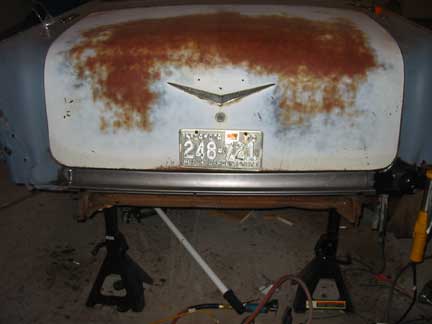
I temporarily screwed in the tail pan to check gaps and alignment. This is unique in that it's a great piece of sheet metal and really finishes the rear out. Other than needing to bring the center in a bit it looks really good.
One final thought this weekend.
I get several E-mails a day and I appreciate each and every one of them. They come from as far away as Denmark and Australia. I try and respond personally to each one as time allows. Thank all of you who have taken the time to send me a note and looked at my little project.
I however received an e-mail recently from the wife of a very courageous Army soldier that is stationed in Iraq that really touched me and I hope she doesn't mind me displaying it here.
Mr. Grimmy,
Hi! just wanted to let you know that I found your website while doing
research surfing for our '57 Chevy--I so enjoyed it that I sent the link to
my husband, who is a US Soldier, currently serving in Iraq. We have a 2DR
Hardtop, and he cannot wait to get home and get back on it again, it has
been a year now, hopefully not much longer though. He has limited and
uncertain internet access (it's all satellite) but your site has brought
him a lot of pleasure, we enjoy your humor and your luck is a lot like
ours!!! I would like to thank you for giving him a diversion and a place to
get his mind off of his "unpleasant" circumstances, we enjoy planning what
we will do to the car when he gets home safely. Be assured that we will be
anxiously following your progress, was pleased to see your latest news and
am sending him a message to check your site!!Best of luck to you and
"Belle".
Sincerely,
Tanya Long/SFC Robert "Andy" Long, US Army
Baghdad, Iraq
God bless you and your family. Thank you both for your incredible sacrifice.
Go to page 1 2 3 4 5 6 7 8 9 10 11 12 13 14 15 16 17 18 20 21 22 23 24 25 26 27 28 29 30 31 32 33 34 35 36 37 38 39 40 41 42 43 44 45 46 47 48 49 50
![]()
