 Home
Home Forward
 Home Home |
 Forward Forward |
PAGE 6
9/1/03 to 9/7/03
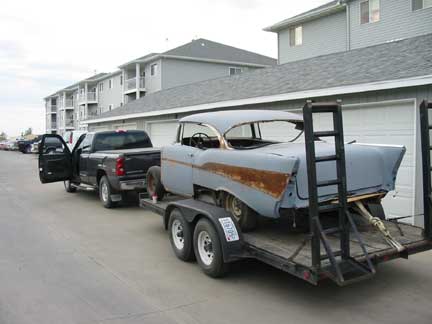
This is the last time the old Belle will look like this and be rolling on these wheels. I found a heated shop a couple miles away and loaded her up for the move.
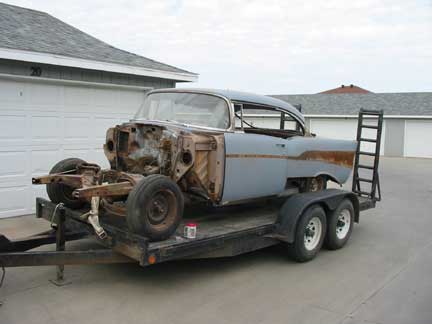
My brother helped me with the move. He told me I'm nuts and it's a basket case. He's right but she still looks great to me.
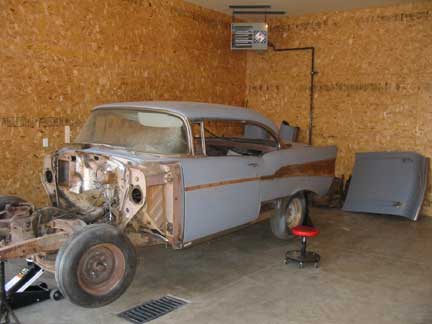
Here she is in her new home. Probably not enough room but there is heat, winter is coming!
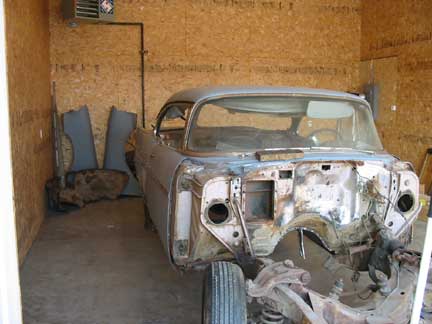
My compressor , tool box and welder should be moving in soon.
Hopefully by the end of the month I'll be in full swing again.
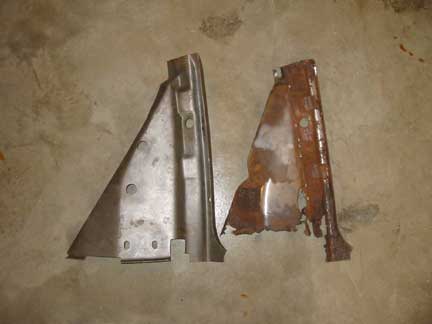
OK, back to the work at hand, this is a comparison of my old driver side B pillar brace and a new B pillar brace for a convertible.
For some reason no one at this time makes a brace for a two door hardtop.
It will work with some reworking of the new piece. I'll document what I need to do as things progress.
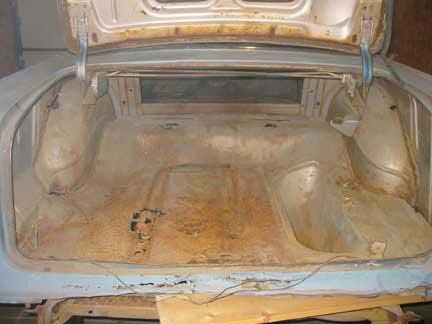
While I was working in my apartment garage I had to store a lot of parts in the trunk. I just didn't have any other place to put them. Now that I have some more room I unloaded the trunk and gave it a serious look.
As with everything else on my gal it's rusted badly, I'll need a full trunk pan and either new or manufactured by John sheet metal on the sides and wheelhouses.
She's making it hard to love her!
9/10/03
I ordered a ton of parts for the passenger side from Ralph http://www.56chevy.com/
I strongly encourage anyone needing parts to contact Ralph, I've never gotten such great service and prices.
9/13 and 9/14/03
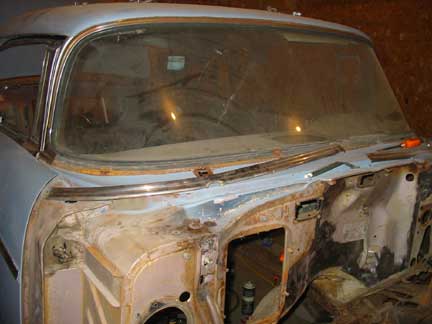
I removed all the stainless on the car this weekend, the backglass was a snap, the front window was another story.
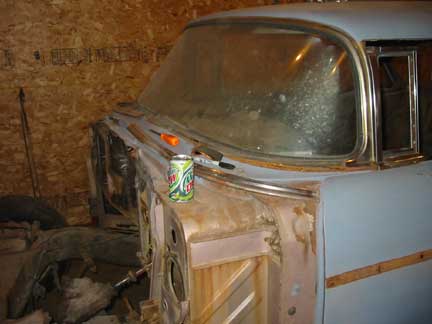
After removing the wipers, and wiper transmissions the lower windshield trim came off pretty easily. There are two nuts that must be removed from the inside under the dash to release the two lower corners of the lower trim. The upper part of the trim must wait until I remove the windshield as I understand it.
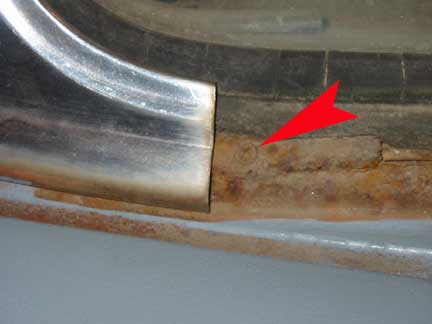
This is where things got interesting, this is a close up of the passenger side "dog leg" or the point where the lower windshield trim turns up on the side of the car.
If you look very close, there is a screw at the point marked by the arrow, the battle was on, it wanted to stay I wanted it out. These screws are stainless or chromed, either I had some worthless drill bits or it's a very hard screw! The drill wouldn't hardly scratch it. I ended up breaking the head off this one.
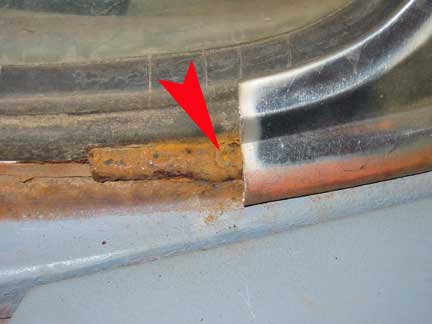
Same screw on the drivers side, amazingly this one turned out with some persistence.
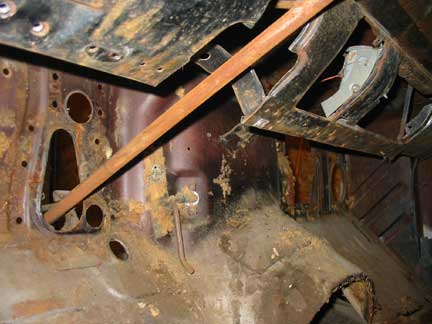
I also removed the remaining interior, mostly all the stuff under the dash.
Although this picture makes it look like a lot of rust, it's one of the few places on the old girl where the metal looks really good.
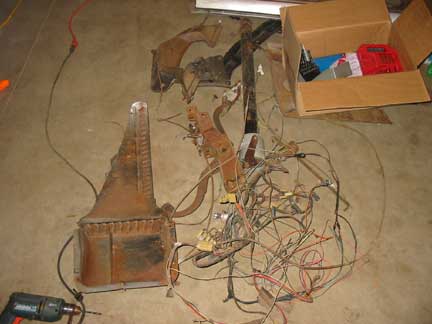
Here's most of what came out from under the dash, you can see the wiring harness, heater box, brake pedal support, steering column and defroster ducts.
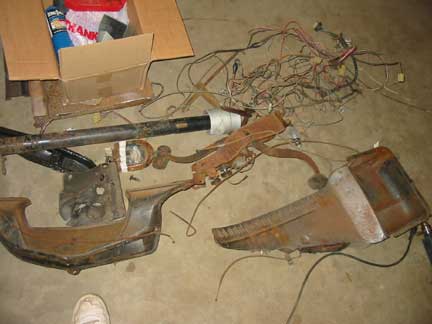
Another picture of all that stuff, it all came out pretty easily, now going back in may be another story!
That's my big size 13 in the lower left.
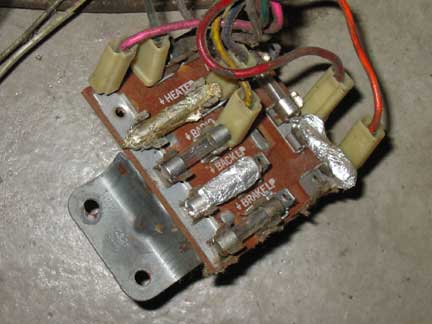
This I got a kick out of. Notice the use of cigarette pack tin foil wrapped around blown fuses to complete the circuit.
I've done this myself! A long time ago when I didn't have a fuse handy or was too broke to buy one.
I'm lucky the car isn't burned up due to this "repair".

There is nothing left on the firewall, now it's time to get busy blasting and sanding to get it clean and smooth.

I'm acquiring quite the 57 Chevy parts collection.
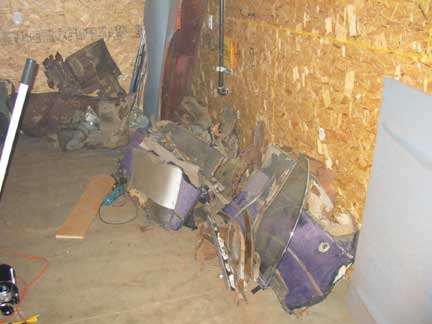
God I hope I remember how all this goes back together.
Go to page 1 2 3 4 5 7 8 9 10 11 12 13 14 15 16 17 18 19 20 21 22 23 24 25 26 27 28 29 30 31 32 33 34 35 36 37 38 39 40 41 42 43 44 45 46 47 48
![]()