 Home
Home Forward
|
Home |
Forward |
PAGE 46
Saturday 11/05/05 - Sunday 11/13/05

|
10.0 hours |
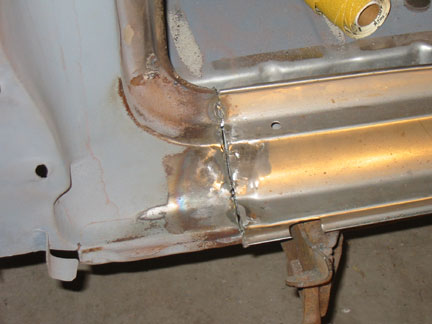
I can't find anything else to allow me to avoid cutting out my recently installed new tai pan.
I need to remove it in order to clean and seal the backside of the tail pan and last few inches of the trunk floor.
Both the tail pan and the rear part of the trunk floor are bare metal and have already starting to rust. I was obviously out of my mind when I put this all together without preparing it properly.
Now I get to do it all over again, the right way.
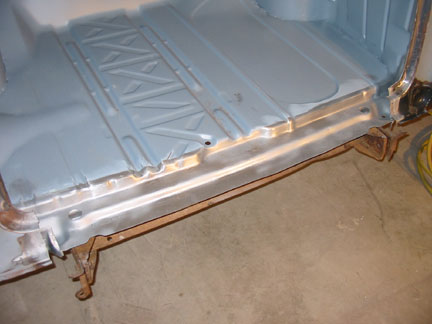
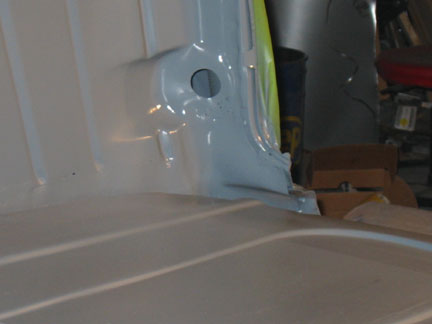
Using a pneumatic cutoff wheel to remove my welds, the tail pan came free with no damage.
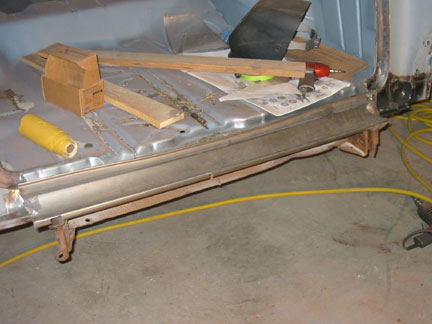
Once removed there was another obvious screw-up on my part.
I barely welded the trunk pan to the rear body brace. I only placed a few welds at the very rear. I'm really ashamed of this work.

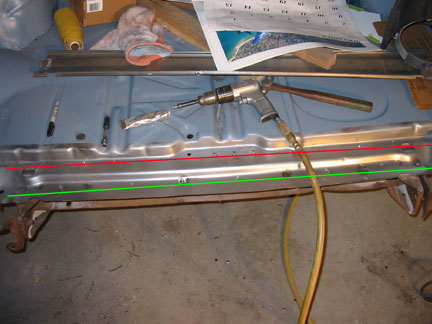
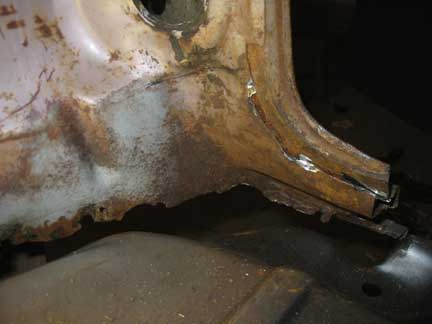
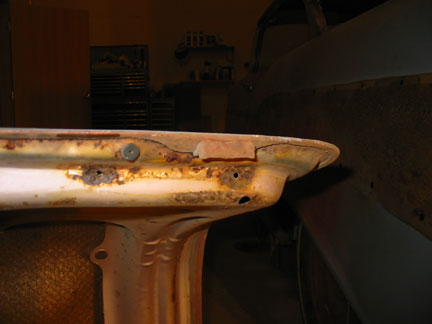
Here's what I'm talking about.
The picture on the right shows where I neglected to weld at all indicated by the red line, the green line shows where I placed a few welds, but not nearly enough.
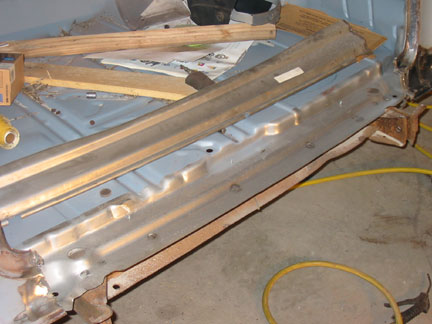
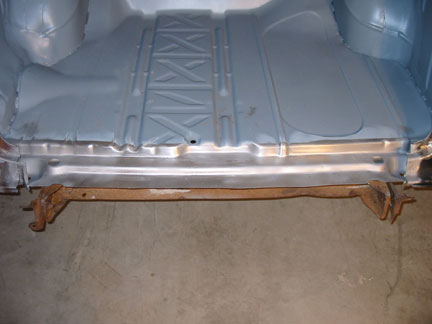
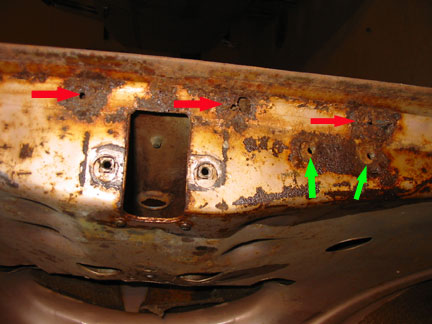
I used my spotweld drilling tool to make several holes in the trunk pan to plug weld the pan to the rear support properly.
There just HAS to be someone else to blame this on!
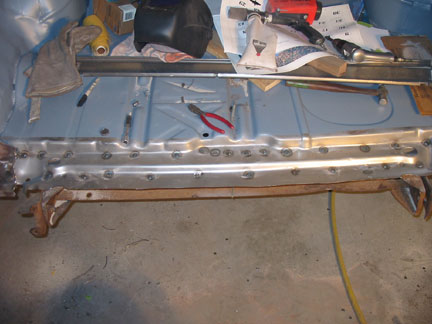
As you can see, I've gone through and correctly welded the trunk pan to the rear support.
No one ever needs to know about this, thank God no-one ever really comes to this site or reads my drivel.
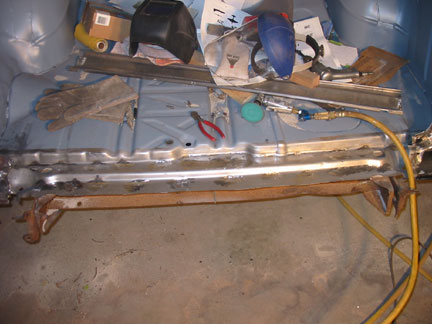
Here we are after dressing the plug welds with my grinder, looking pretty good.
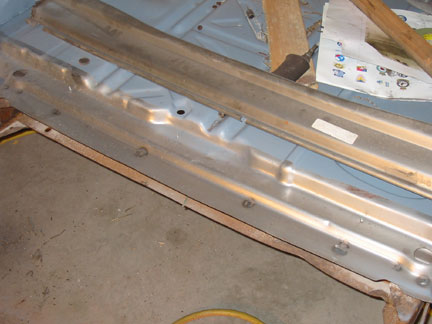
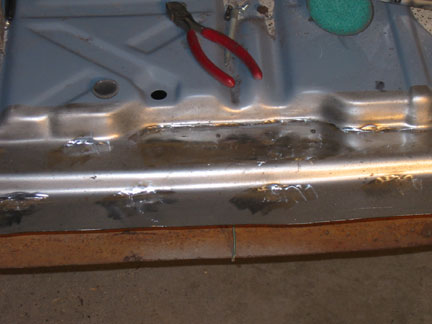
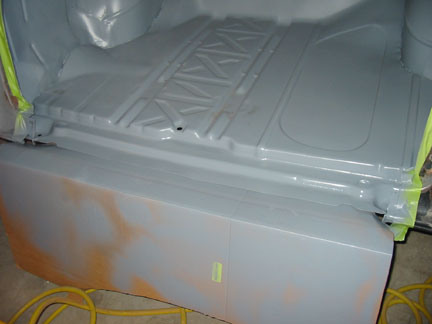
And even better after sanding the area, sand blasting the areas I can't sand and cleaning it all up really nice for primer. This really looked nice in person.
I also sand blasted the inside of the tail pan, aligning pin, trunk latch, trunk latch cover and latch mount.
Fresh clean metal is so cool. It's even better with color on it. Time to seal it all up in epoxy primer.
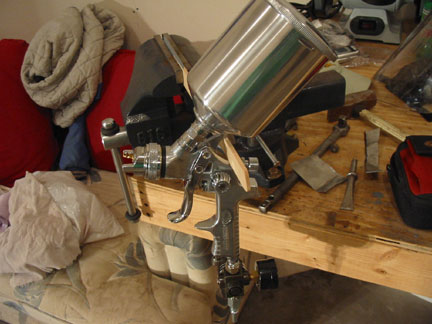
I purchased an HVLP (High Volume Low Pressure) gravity feed spray gun this week.
Benefits are lower pressure and almost no overspray, plus it was on sale.
I need to learn how to set it up and use it now.
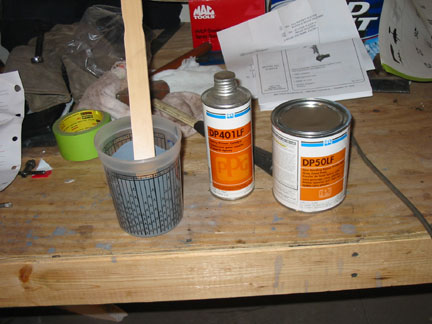
No time like the present. I mixed up my DP50LF PPG primer as before.
It needs to sit for 30 minutes before spraying. I spent this time re-cleaning all the metal and masking off a couple areas.

My old trunk lid served as a test pallet. I spent some time learning to use the new gun and get it set up properly.
Take note of the terrible rusted out areas of the trunk lid frame. It's completely rusted away.
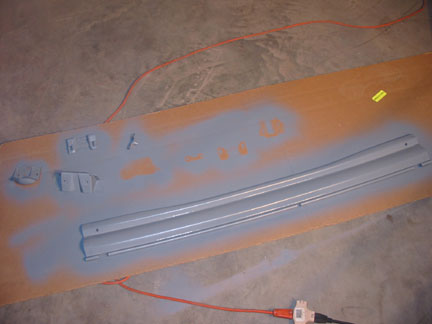
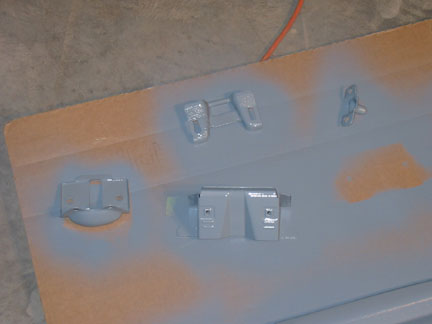
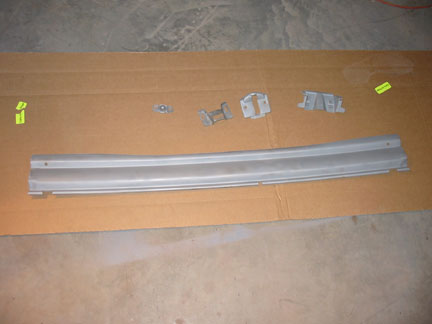
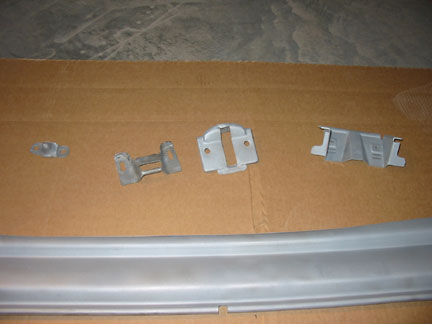
Now back to the good parts, here are my small parts with two coats of primer, ohhh ahhhh.
And the best part, here is the trunk pan in epoxy primer, man it looks good!
An after and before of the passenger inner trunk dog leg. It looks like pictures from two different cars.
This is my original 1957 trunk lid. I was blown away when all the screws for the trunk latch came right out without a single glitch! And the latch operates perfeclty.
The green arrows point to where the trunk alignment pin goes.
The red arrows indicate one of the unique characteristic of the 57 lid as apposed to 55 and 56.
The weather-strip was attached to the trunk lid in 57 by small clips pushed into holes in the trunk lid. All the rusted out areas on my lid started around these holes. 55-56 trunk lids lack these holes and seem to be less prone to rusting out in these areas.
Here again is my original 1957 trunk lid.
It has these little feet on each side of the lower edge. My nice new 56 and my 55 trunk lids lack these.
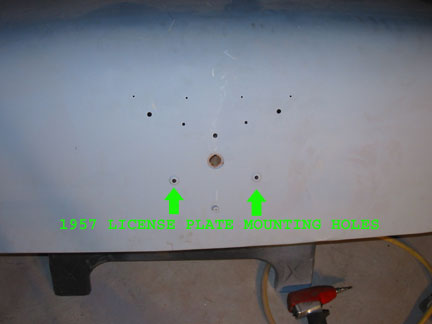
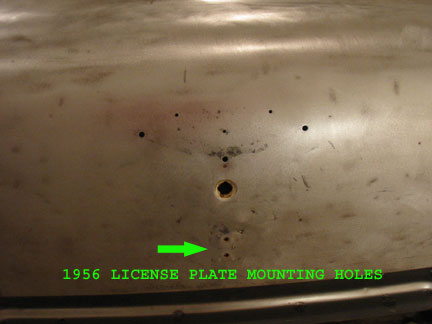
The only real major difference between the trunk lids are shown above. The 57 trunk lid uses two holes spread out to mount the license plate mount and the 56 uses two vertically mounted holes to mount it. I'm just going to use a 1956 license plate mount as apposed to trying to modify this.
The script and V mounting holes are also different between the years.
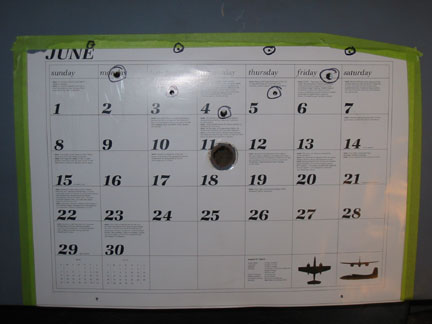

June was more than happy to be used as a template to transfer the correct position of the trim holes from the 1957 trunk lid (left) to the 1956 trunk lid (right).
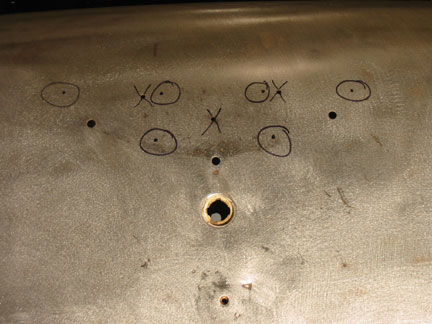
Here's what looks like a psychotic game of tic tac toe.
In reality it shows what trim holes I need to add (the circles) and the holes that need to be filled (the X's)
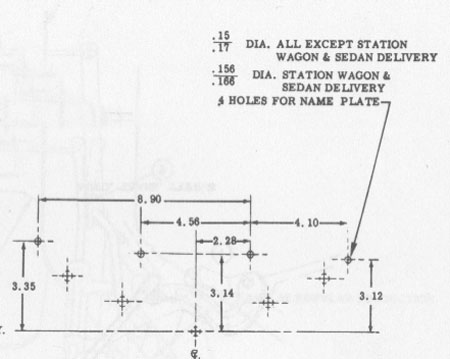
Using measurements from the 1957 assembly manual I verified my template markings.
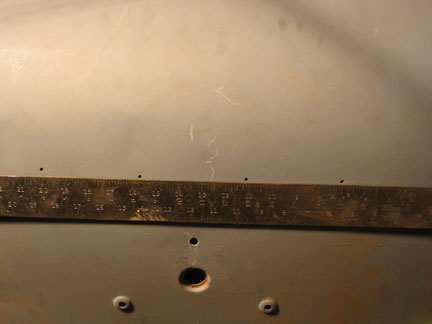
This is a shot of my original 1957 trunk lid.
I've placed a straight edge along the bottom of the holes for the CHEVROLET script.
As you can see they are not even horizontally. The above document from the assembly manual supports this also.
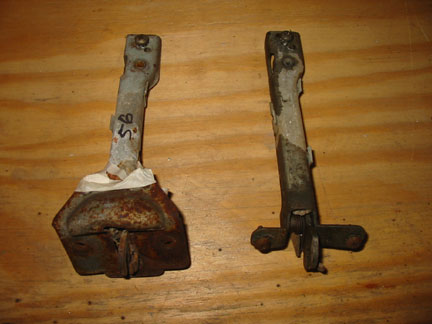
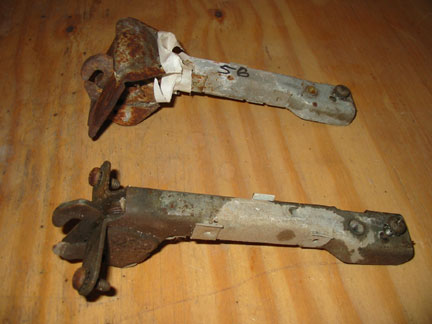
Above are comparisons of the 56 trunk latch, on the left and the 57 latch on the right. As I assumed they appeared identical.
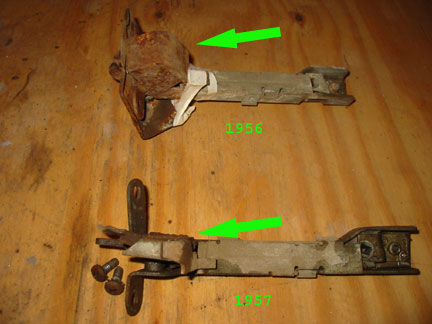
I was surprised to see the covers for the lower latch area (indicated by the green arrows) was much larger on the 56 latch. I'm not sure why.
More welding, grinding and primer coming soon......
Go to page 1 2 3 4 5 6 7 8 9 10 11 12 13 14 15 16 17 18 19 20 21 22 23 24 25 26 27 28 29 30 31 32 33 34 35 36 37 38 39 40 41 42 44 45 46 47 48 49 50
