 Home
Home Forward
|
Home |
Forward |
PAGE 24
Saturday and Sunday 4/3/04 to 4/4/04
|
8.0 hours |
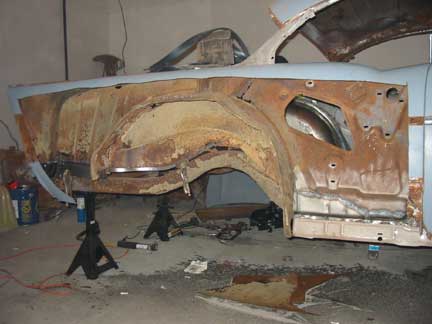
Drivers wheel well tub Part 3:
This is taking much longer than I ever expected. I really thought this would be a very easy and simple modification. I really hope the passenger side goes more quickly because of my experience on the drivers side.
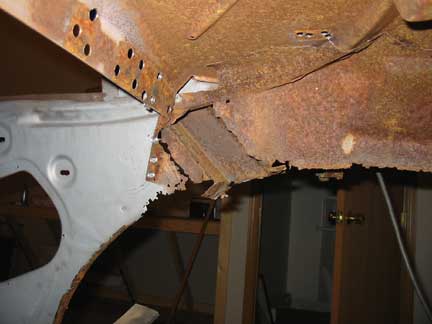
I cut and fit a piece to fill the gap from the upper center to the rear fabricated part I made (and ground through).
I then used self tapping screws to pull it all together tightly. My body hammer came in handy to form it all as smoothly as possible.
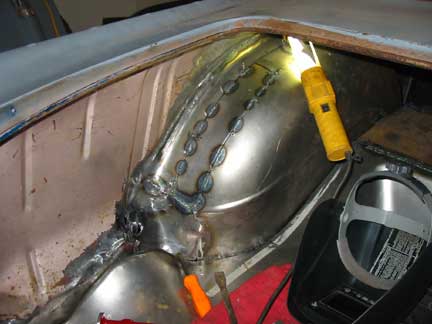
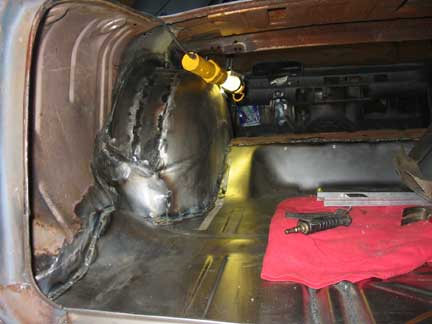
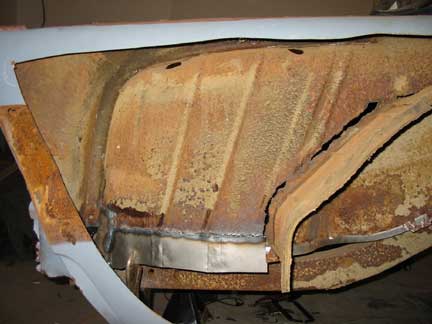
I then welded along the inside edge of the stepped part.
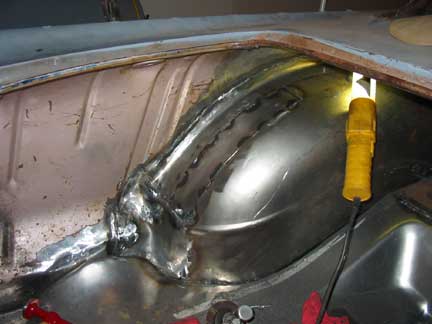

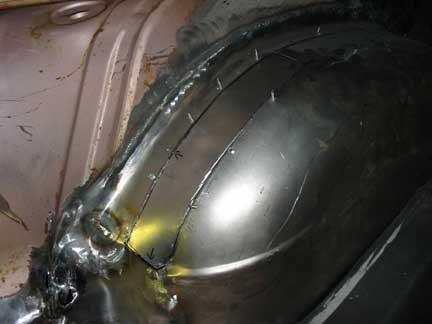
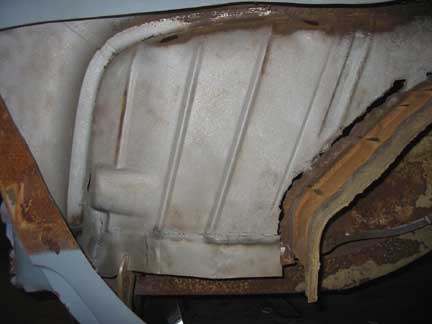
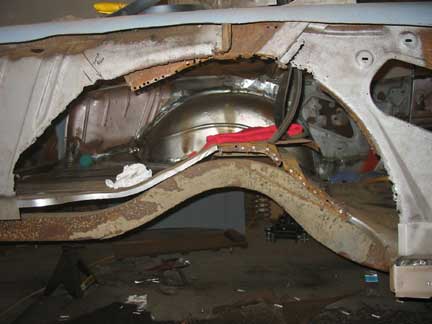
Here it all is after welding up the holes I burned through previously and grinding down the welled area (albeit much more carefully!) It really doesn't look like much here. In person it's very smooth and looks terrific. I shouldn't need much filler make it all appear as one piece. The pic on the right is obviously what it looked like before I butchered it up.
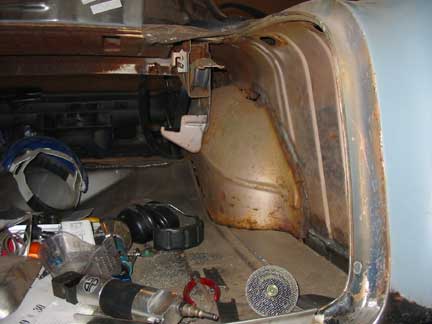
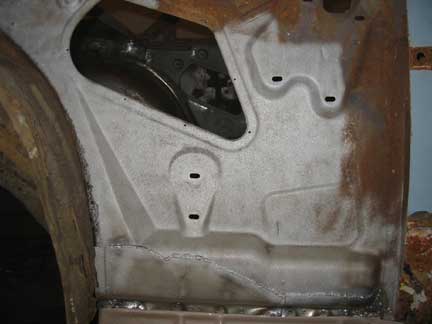
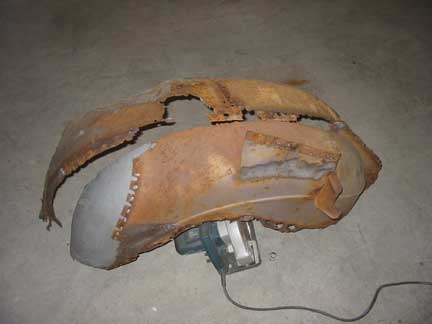
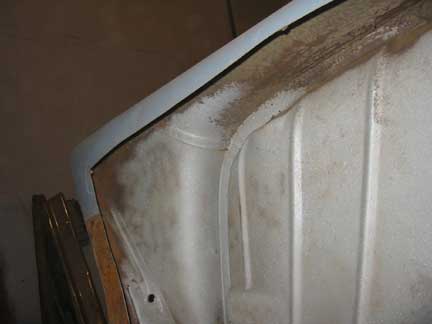
A comparison of the tubbed and factory well. As you can see the drivers side wheel well will accommodate a much larger tire than it would have from the factory.
The passenger side is next.
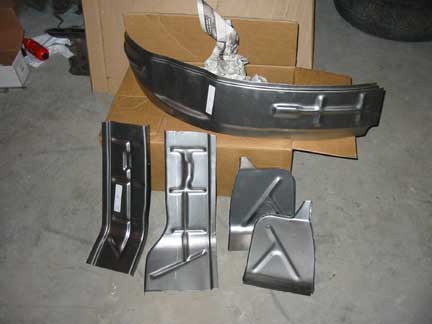
The best part of the week was receiving the last (God I hope) of new sheetmetal. It's always like Christmas when getting these deliveries.
I once again ordered from Ralph, the order included a full passenger rear quarter and all the outer wheel well components. All arrived in terrific condition.
I wish I could say the same for my credit card!

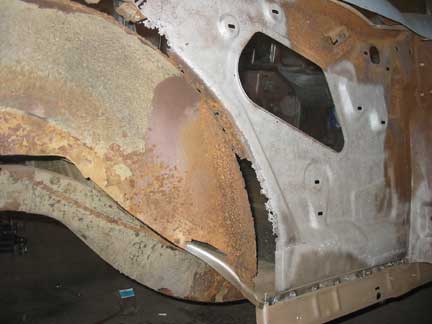
Most of the passenger rear quarter cut out. I left a generous margin to work with, I can always cut more but it's hard to put it back on!
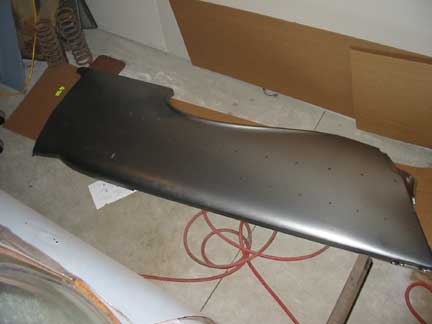
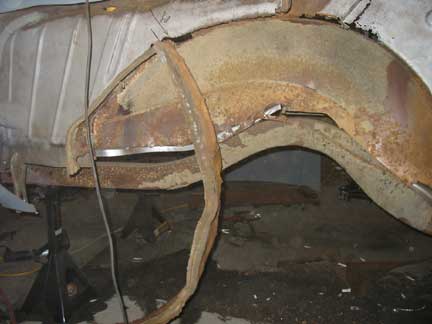
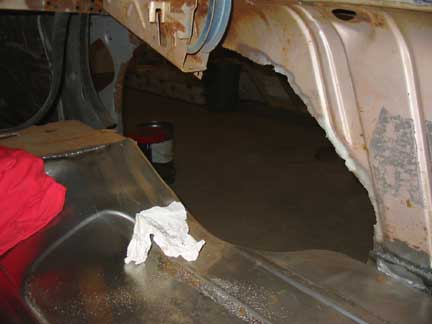
This pic shows clearly what the outer wheel well looks like.
Once this area is sand blasted and repaired it will be epoxy primed along with the inside of the new quarter panel.
I was really feeling like I was getting nowhere on the old gal this week. I then went back and looked at what I started with and it's amazing to me how far I've actually come.
Can't see the forest for the trees I guess.
As always, thank you for looking.
Saturday 4/10/04
|
6.0 hours |
Seen here is the inside of the passenger rear quarter.
As usual a lot of rust, mostly just surface rust in this area thankfully.
I'm going have to do my least favorite task of sand blasting it.

These are the same areas after some nasty work of sand blasting. There's more to be done but I needed a break and decided to take a picture while I was on break.
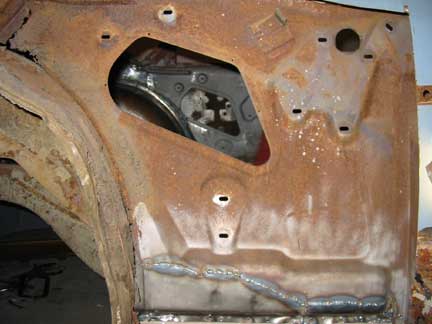
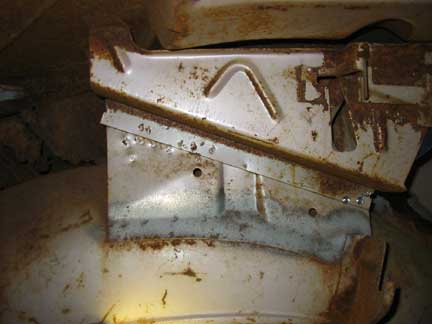
The picture to the immediate left is the base of the C pillar where it meets the outer wheel well. Two things to note here are indicated by the green arrows:
1. This is the clip or retainer that the rear quarter window stainless trim slides into.
2. points to the serious rust damage to to forward portion of the C pillar. This will need to be cut out and patched.
After cutting the spot welds for the outer wheel well it came loose easily (nearly taking three of my fingers with it!)
Next I moved to inside the trunk.
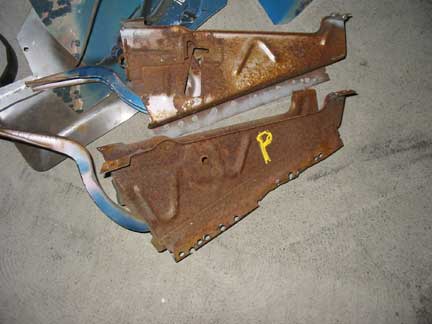
Of note here are the dozen or so missed spot welds near the forward portion of the trunk hinge mount. These can be seen on the left of the picture.
The poor guy running the spot welder that day was having a tough time.
It all fell out on the floor after cutting the spot welds on the trunk hinge support.
Another big hole to fill.....
I had not originally intended to remove the trunk hinge on the passenger side. I changed my mind after inspecting and finding a tremendous amount of rust damage that needed to be cut out and repaired behind it.
The passenger side is much worse in this area than the drivers side was.
The good news is, this should be the last of the rust repair on the body proper, well except for the full quarter on the passenger side and the patch panel on the drivers side......will it ever end!!
I included these two pictures for a couple reasons.
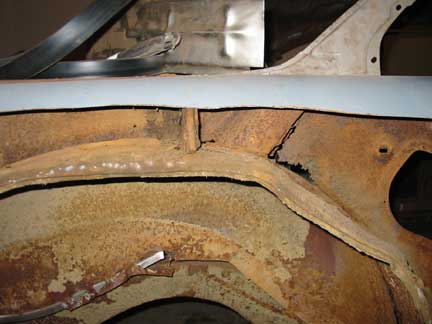
The picture on the left shows the flanged joint where the factory joined the outer quarter panel to the trunk inner panel. Lead was used to fill the gap at the top on the surface. Notice how rust free the area is as the lead has "sealed" the lap joint.
The picture on the right indicates what many others probably know but I learned. The inner quarter of the body (where the rear window cranks would be), the inner wheel well and the inner trunk wall were one very long large piece. There are no seams. It must have taken one very large and complex press to make this part.
I'll tackle the passenger wheel tub next.
Go to page 1 2 3 4 5 6 7 8 9 10 11 12 13 14 15 16 17 18 19 20 21 22 23 25 26 27 28 29 30 31 32 33 34 35 36 37 38 39 40 41 42 43 44 45 46 47 48 49 50
![]()
