 Home
Home Forward
|
Home |
Forward |
PAGE 36
Saturday 10/16/04 - Sunday 10/24/04

|
10.0 hours |
Let me warn you right off the bat this is one lame excuse for an update!
There are no major parts installed or milestones.
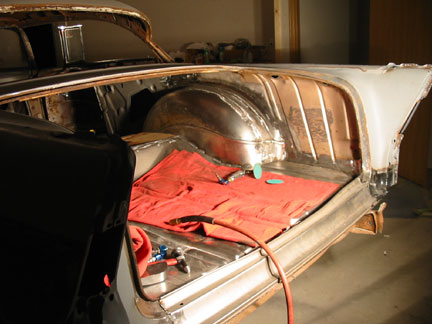
I moved to the trunk area.
I want to get all this bare metal in primer as soon as possible.
Some of it has already started to develop surface rust.
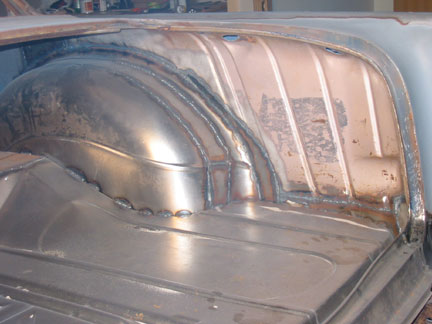
I spent many many miserable hours laying in the trunk grinding and dressing my welds.
This is just miserable work plain and simple.
The areas I did get finished look pretty good. Very little filler will be needed to fill the small gaps and pits.
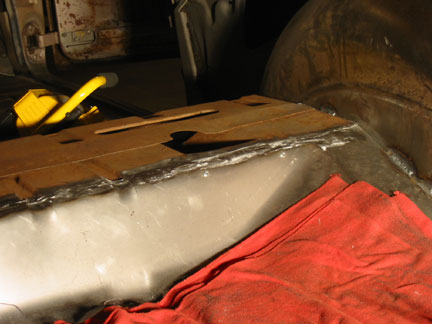
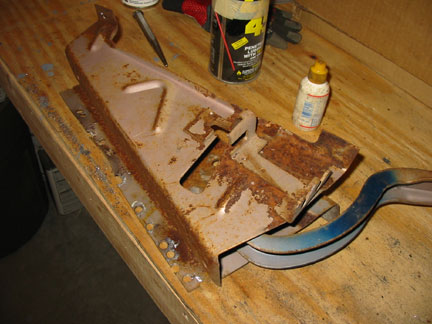
This area is the where the trunk floor meets the original floor directly under the package tray.
I'm not real please with this joint. I'll need to do a bit more welding and grinding to get it right.
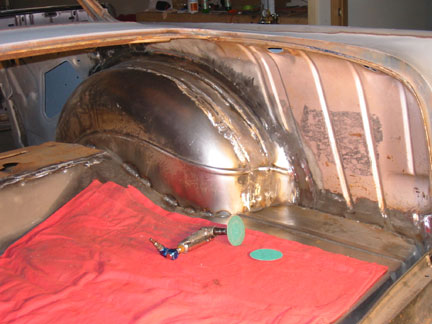
I'll never again be able to open this trunk without recalling all this work and the work to come.
It would be soooo easy to cover it all up with carpet and hide all of this.
It just wouldn't be right and it would haunt me forever!
I needed a break from grinding so I turned to the restoration of the trunk hinges.
As you remember I removed both sides to allow more room for the inner wheel well replacement.
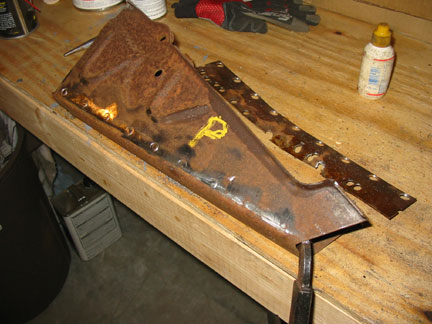
These are a rusty mess!
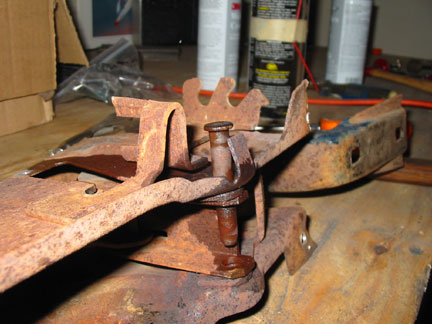
The first step was removing the pin for the trunk hinge.
This is the drivers side and that pin was securely seized in place. A bit of penetrating oil, heat and a persuasive hammer it finally saw things my way.
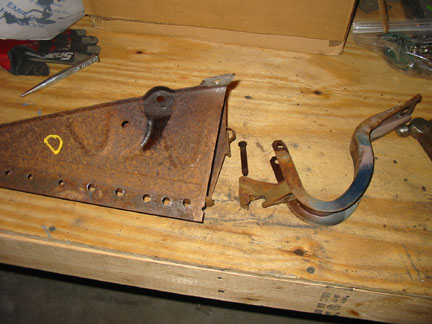
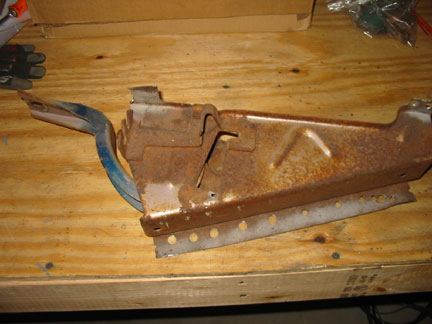
Here are the three major parts of the drivers side trunk hinge.
Other than being rusty all parts are in terrific condition and show very little wear.
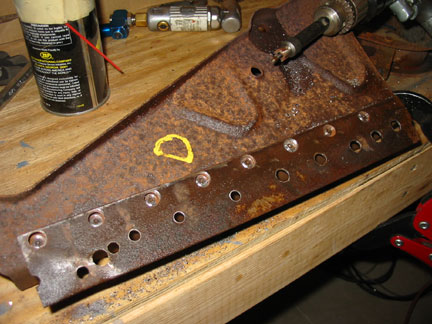
The long metal part spotwelded to the lower portion of the hinge is a support that runs down to the inner wheel well.
I need to remove this for two reasons, 1. I will need to fabricate a different support due to my mini tubbing of the rear wells. This part would no longer work properly for my needs. 2. I wanted to get all the rust behind it.
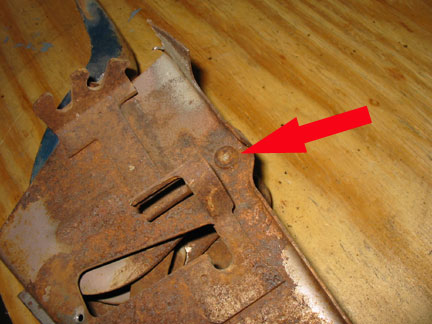
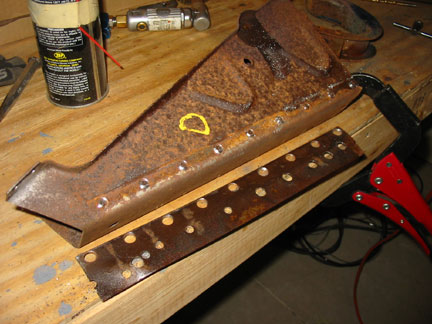
As you can see I used my spotweld cutter to free it from the hinge.
The little nubbins that were left were ground down smooth.
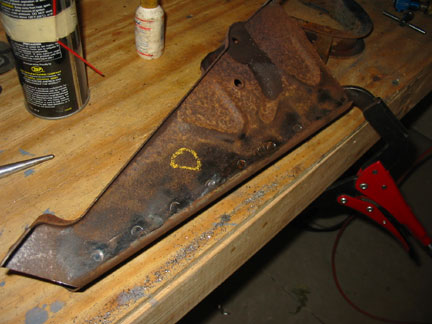
The same dissection was performed on the passenger side hinge.
This is soo much easier than that God awful grinding!
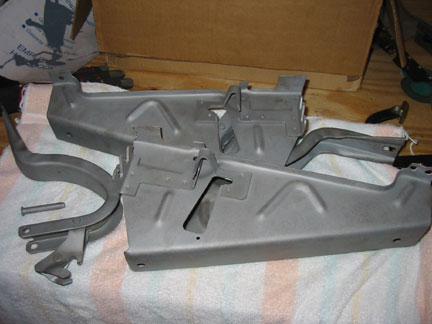
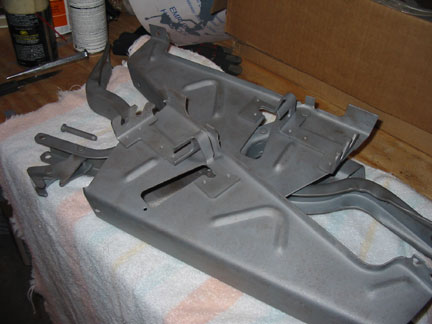
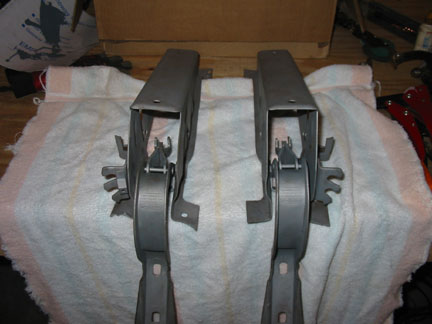
The above pics are after sandblasting . Other than a few pits they look like they were just shipped new from the factory!
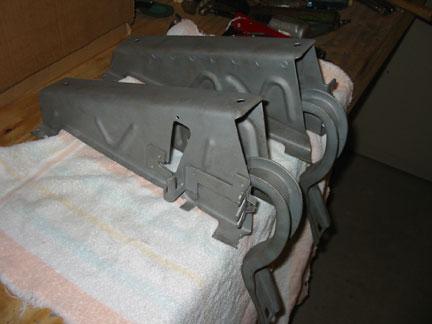
I have just temporarily reassembled them to keep all the parts together until I'm ready to shoot them with primer.
Sorry for the boring update, it's just grunt work that must be done. She's getting closer and closer every day.
Go to page 1 2 3 4 5 6 7 8 9 10 11 12 13 14 15 16 17 18 19 20 21 22 23 24 25 26 27 28 29 30 31 32 33 34 35 37 38 39 40 41 42 43 44 45 46 47 48 49 50
![]()
