 Home
Home Forward
|
Home |
Forward |
PAGE 22
Sunday and Monday 3/21/04 to 3/22/04

|
15.0 hours |
I'm still working on the drivers side rear wheel well area.
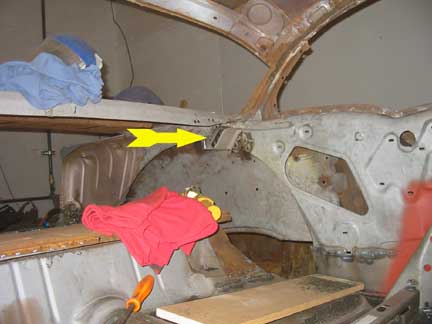
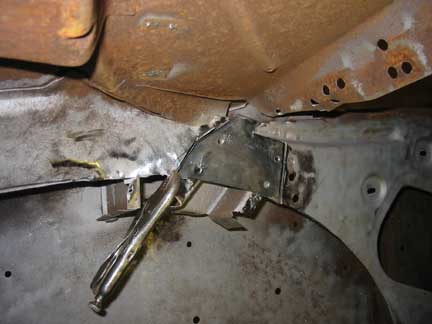
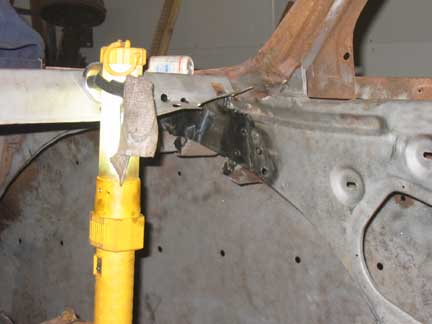
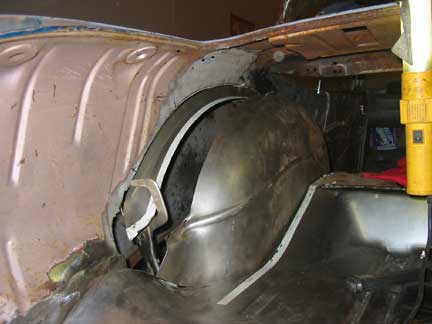
The photo on the left shows the area where the C pillar enters the rear quarter and attaches to the inner wheel well and the outer wheel well. The yellow arrow indicates where I'm working.
I sandblasted and painted this area with weld through coating.
Then I used a grinding wheel on my die grinder to shine up the metal to help make a good connection for welding.
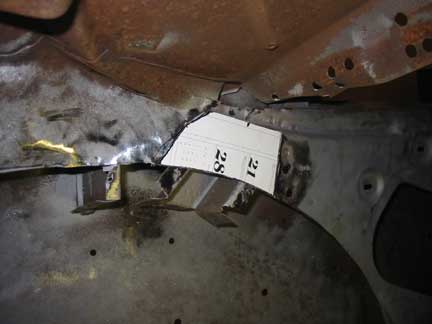
Once again my old calendar gave up a couple days to make a template of the needed piece.
I wish I could just use cardboard to make these parts! It's so much easier to work with.
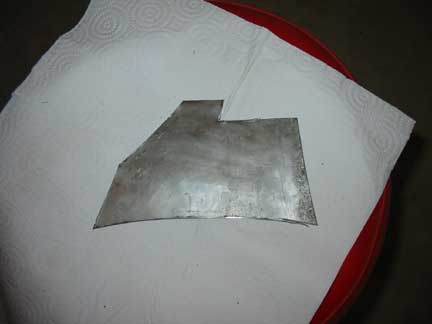
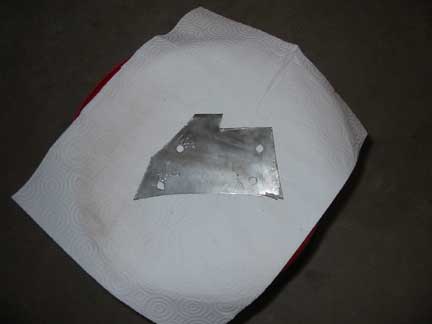
After transferring the template to the sheet metal I cut it out and then punched 4 holes where the part needed to be welded to the C pillar.
It doesn't look like much does it.
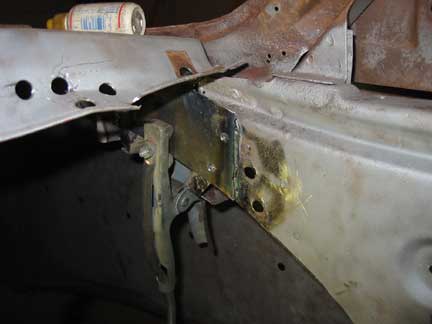
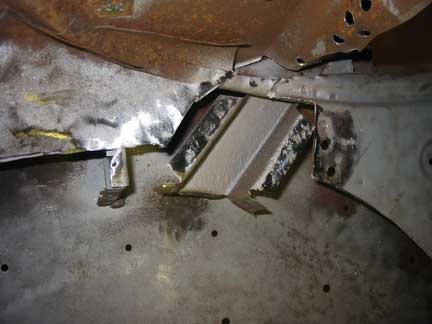
The part is clamped into place and welded. Weird...... it seemed to fit!
.....
It's hard to see here but the patch looks great.
It's nearly impossible to see it after I dressed the welds a bit.
On to the wheel well.
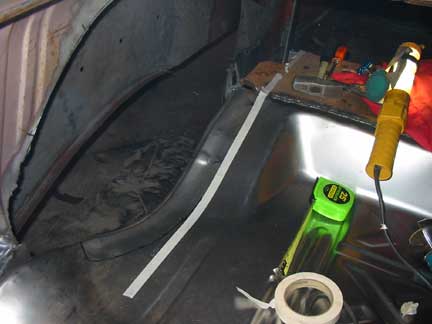
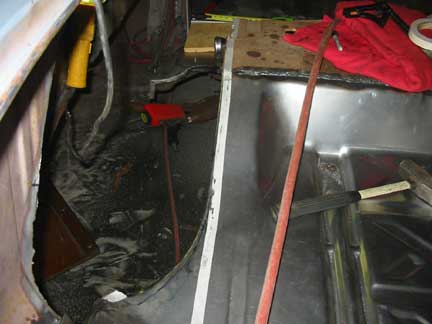
I'm "mini tubbing" the rear wells to allow a larger rear tire to be used.
The factory wheel wells meet the trunk floor about 2 1/2 inches from the frame.
In order to do this I need to trim the wheel well area of the trunk floor inwards to be even with the frame underneath.
The left edge of the tape indicates the edge of the frame under the trunk pan.
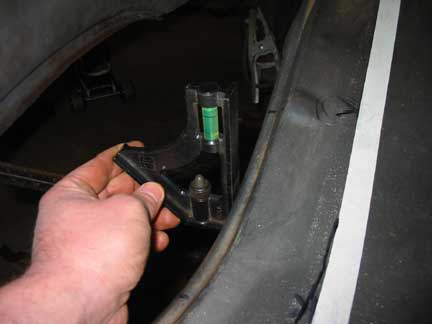
I used a small adjustable square to measure the distance from the frame to the edge of the trunk pan at several places.
I transferred these measurements to the top of the trunk pan to make my proposed cut.
I measured this 5000 times as I was very unsure of myself! This is a very expensive part I'm about to cut, and I'm not very smart!
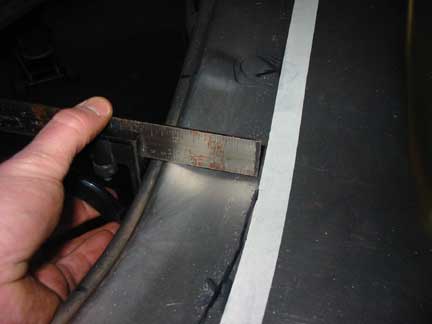
I placed another piece of tape approximately 1/2 inch wide of the area. I cut here to allow a "lip" to weld the wheel well to.
I actually used a jig saw with a metal blade to make the cut.
It left a nice smooth edge with no damage to the metal.
No turning back now!
WOW that's a big hole.
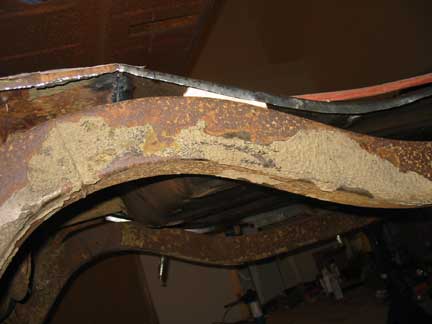

I used a Vice Grip and a hammer to roll the edge over to simulate the factory seam.
I really want this modification to be invisible to all but the most experienced.
The edge clears the frame by 1/16 of an inch.
Who in there right mind would spend hundreds of dollars on replacement parts and then cut them up?
That would be me!
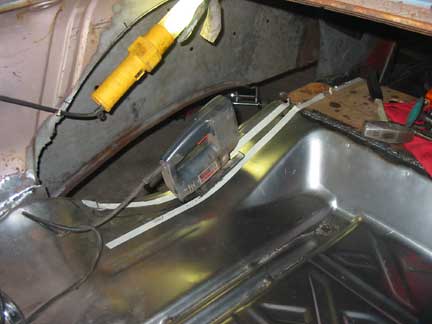
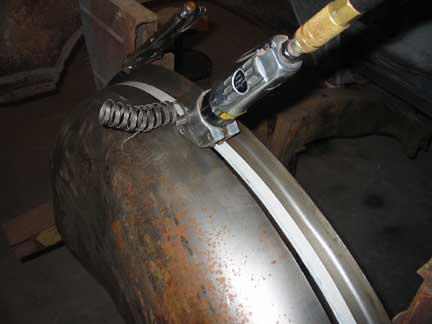
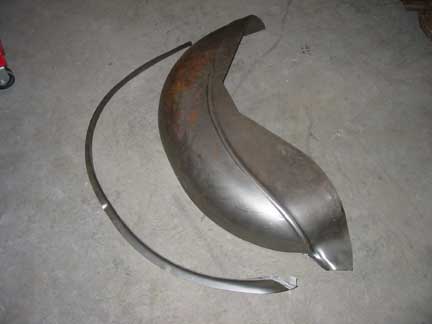
I used my snipper to cut the wheel well an inch in from the edge to give myself some room to weld.
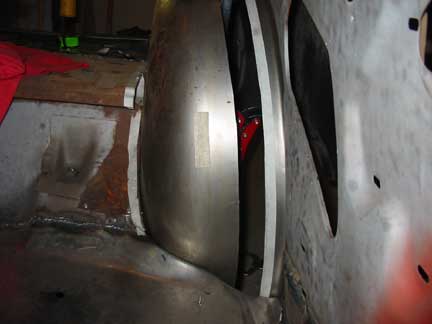
Here are both parts of the same expensive wheel well clamped into the body.
This will allow me a 2-3 inches wider tire.
I need to cut a strip of metal and fill the gap. I hope to make this a seamless modification.
We'll see!
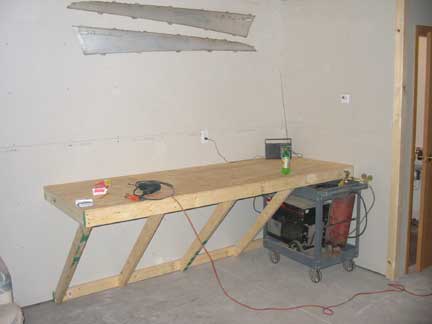
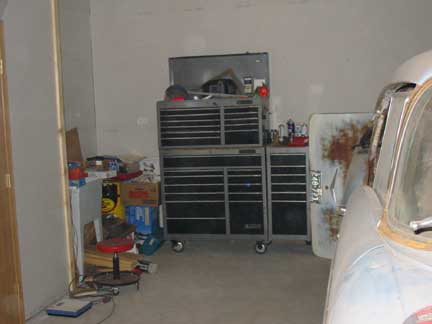
I had to take a break from metal work and do a bit of wood work. I needed a work bench and needed to get my tool box moved from home to my shop.
Both objectives met!
By the way, if Pepsi doesn't start paying me for these gratuitous shots of Mountain Dew I'm changing to Coke!
Have a good week.
Go to page 1 2 3 4 5 6 7 8 9 10 11 12 13 14 15 16 17 18 19 20 21 23 24 25 26 27 28 29 30 31 32 33 34 35 36 37 38 39 40 41 42 43 44 45 46 47 48 49 50
![]()
