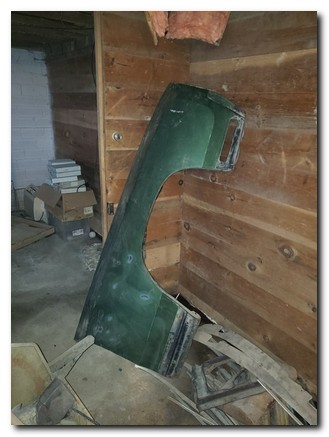
July 2019-
We were extremely lucky to find a replacement rust free passenger
fender a few hundred miles away for a very fair price.
It was amazingly clean.
My client jumped in his truck and took off to retrieve it before the
seller changed his mind!
Many people don't know that the 1970's fenders are different
than 71-72.
The top locating pin, on of the bolt holes and where the fender
mounts to he header are different.
These are easy modifications to make it fit properly.
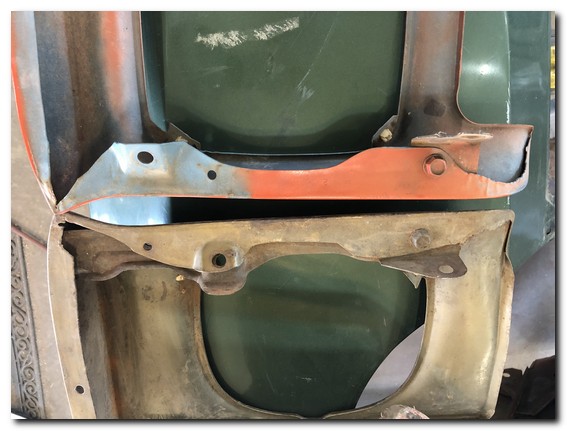 |
This is a comparison of the headlight doors.
The 1972 is on top and the 1970 is on the bottom. |
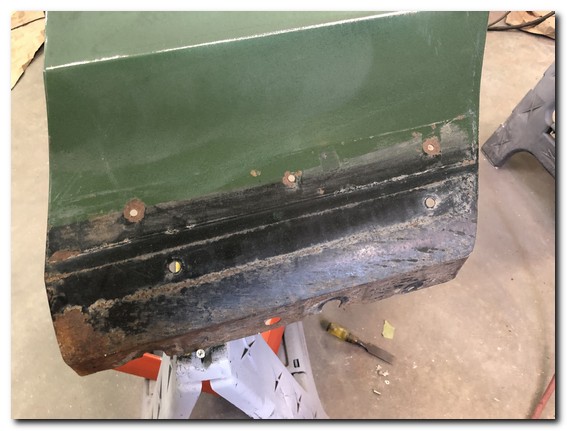 |
It's in crazy good condition, no rust through and only
minor surface rust. |
There are only some minor hail like dents to address. We
really lucked out finding this fender.
.
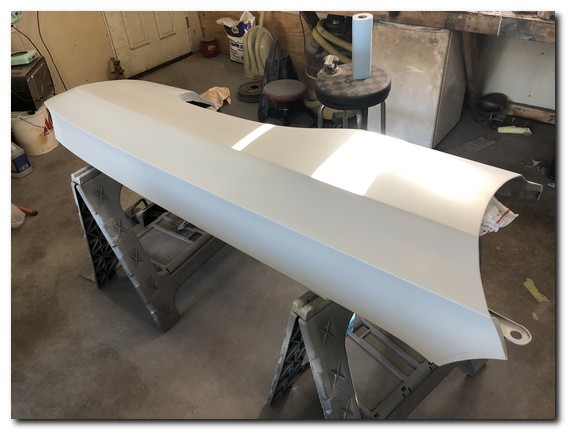 |
A few coats of epoxy primer and it looks terrific! |
Moving on to the deck lid. It is also in very good
condition, there was some damage to the passenger rear corner from a
collision. I worked it out as far as I could.
A small amount of filler in a couple spots to ensure it's nice and
flat.
Then again a few coats of epoxy primer.
Looks great!
The drivers door required very little work, surprisingly good
shape.
Ready for high build primer!
I'm a little worried about the passenger door. There is clearly
a wave across the top that indicates damage.
Once I get it all stripped I'll get a better look.
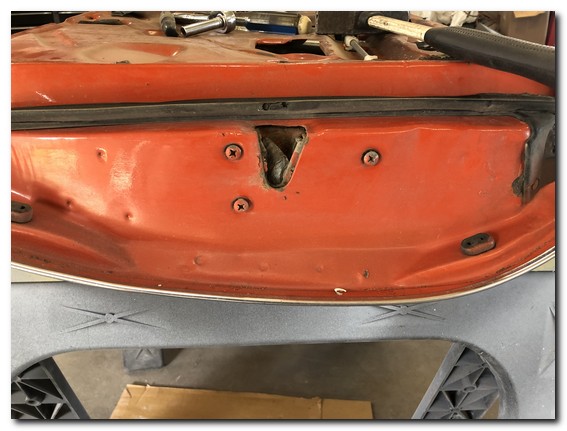
This is a real pet peeve of mine, painting over the
latch screws!
Just so sloppy and unproffesional. |
 |
Yep! There is a ton of filler here, this passenger side was hit
hard from the front.
That's a dent! And there is no access to the rear of it to
work it out.
I drilled a hole and used a punch to work around as best as I
could to work it out. I would have preferred to reskin the
door but we are working within my clients budgt. and this will work
out fine.
|
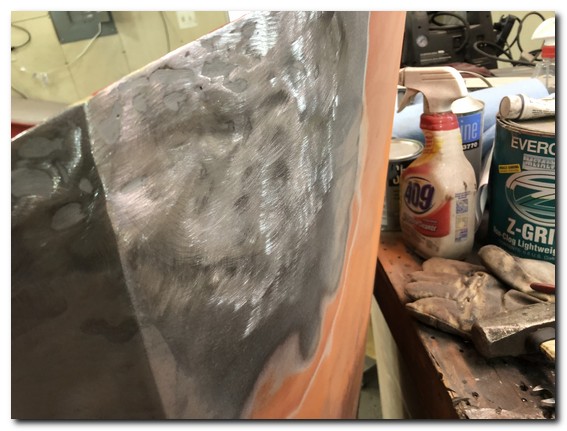
After a little shrinking it came out really well.
It will require some filler but nothing like what was on
it before. |
 |
As straight as an arrow! We are also adding a passenger
outside rear view mirror. I took measurements from the drivers
door and transferred them to the passenger door.
Done!
|
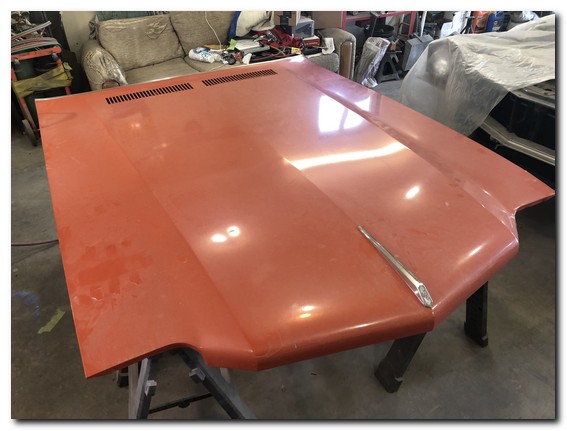
The hood looks terrific, I really didn't think I'd
run into any issues here. I'll remove the trim and start
sanding. |
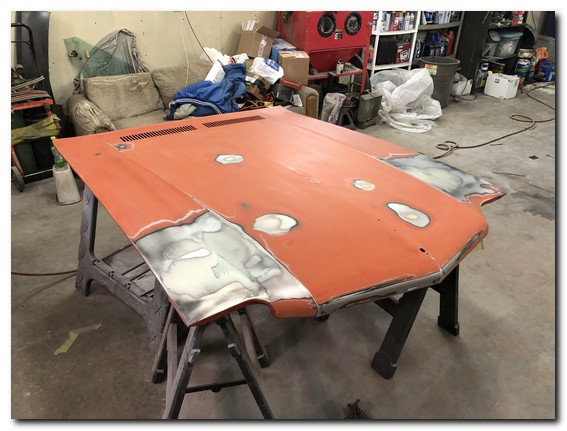
Suprise suprise! To big areas of damage on each side.
It's like someone was jumping on the hood and then they filled it
with filler.
 |
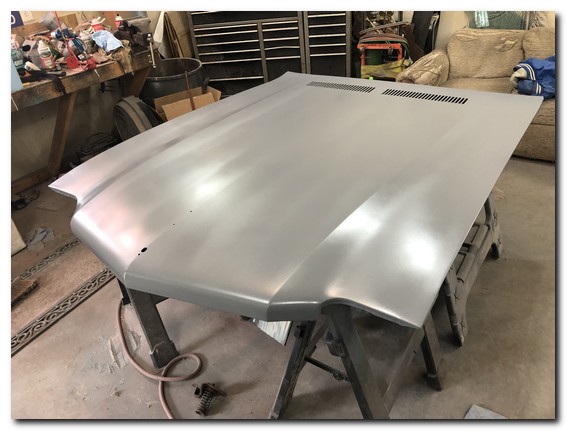
I spent quite a bit of time working out the damage from
underneath. It came out really good. |
After epoxy it's like new.
I'm finally finished with all these parts. I'm
really happy with how they all turned out.
Next Ill spray the high build primer and then begin
blocking them out to ensure they are perfectly flat. |
 |
Color soon!


