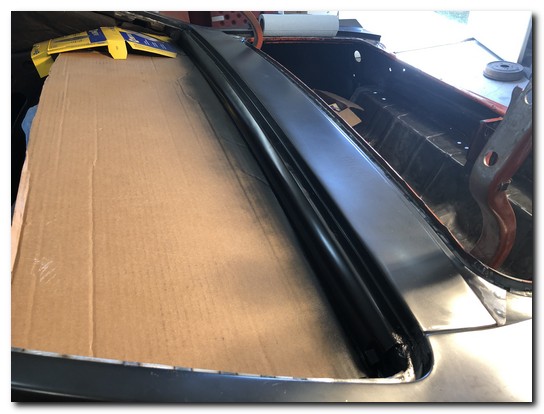
Moving to the drivers side I cleaned and clamped the pinch area of
the back glass.
Once everything was perfectly in place I used the spot welder to
make it permanent.
Moving to the rear I plug welded the quarter to the car, it's
all coming together now!
Back to the roof quarter panel seam. Everything is fitted
perfectly and ready for welding.
The holes are plug welded, there are three layers being
welded here, the inner roof structure, the quarter panel and
the roof skin.
A little grinding and it looks good!
As with the passenger side the door jamb is prepared for
spot and plug welding.
The drivers side rear window gutter is prepared for plug
welding.
Moving to where the trunk drop meets the quarter panel.
Once again everything clamped in place and factory correct spot
welds are applied.
The inner portion of the rear filler panel are plug welded in
the rear window channel.
The section on the interior of the window is scuffed and
cleaned.

Then it was painted semi gloss black. This part of
the filler panel extends into the car and holds down the
package shelf cover. |
|
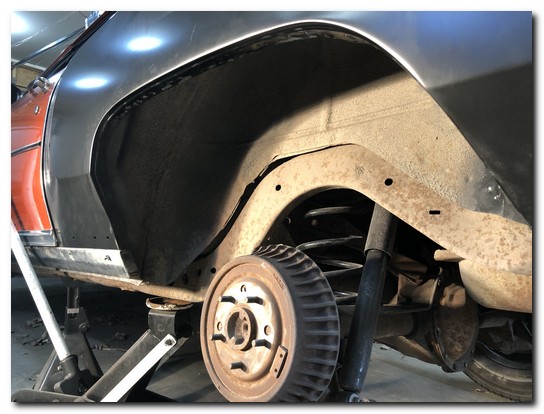
As was done on the passenger side the wheel well lip was
plug welded to the wheel well.
I am getting a set of tongs for my spot welder before I
ever do this again! |
 |
Everything is all welded up!
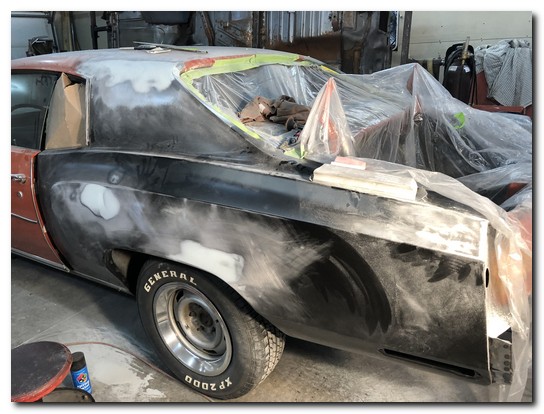
Time to turn to shift gears to some bodywork.
The quarter panel to roof panel joint was first sandblasted and
then short strand, waterproof fiberglass filler is applied.
This stuff is STRONG and very hard to sand or contour.
Regular body filler is used over it to contour the roofline.
MUCH easier to work with.

A few other small areas required a bit of work on the
new quarter.
Just a couple bruises from shipping. |
|
 |
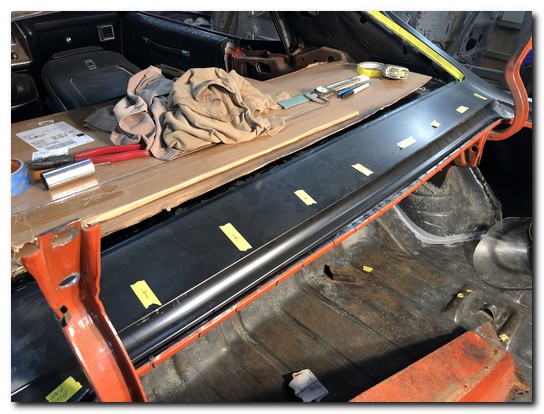
I spent a ton of time using the old parts to locate
where the pins for the trim clips for the vinyl top trim
and the rear window trim would need to be added.
A whole lot of measuring! |
I'll be moving up front next, stay with me!

