Page 6
FOR SALE
April 24, 2015
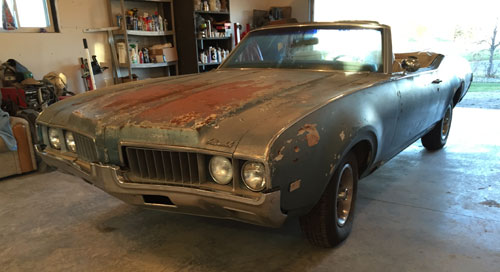
About time for an update.
|
1969 Olds Cutlass Convertible Restoration Page 6 FOR SALE |
|
April 24, 2015 About time for an update. |
 |
|
 |
|
 |
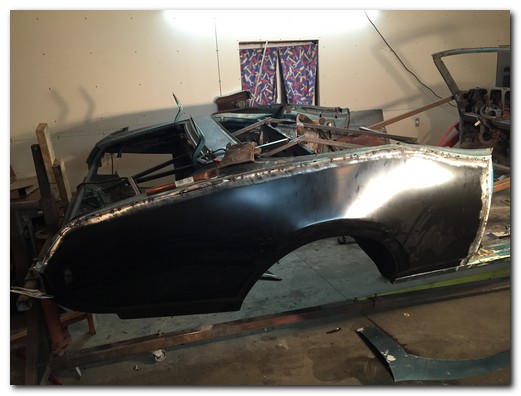
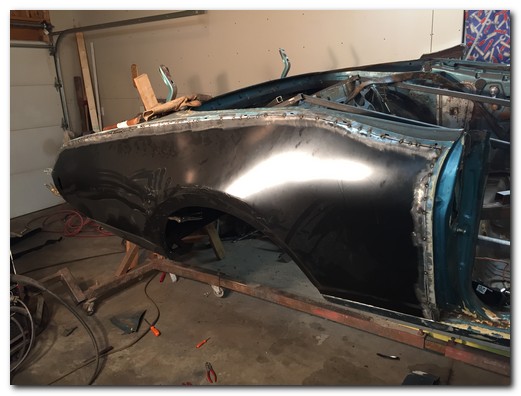
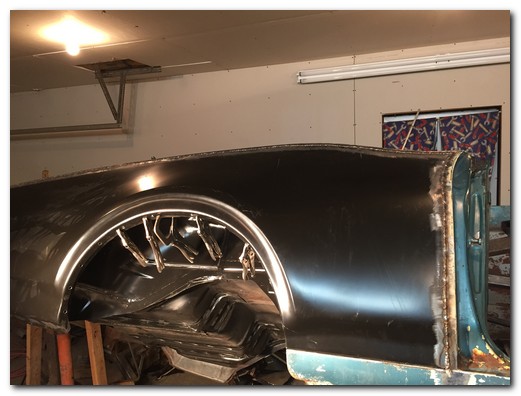
Once the rear quarter was fit and trimmed the long process of slowly welding it on begins. There are a million little tack welds spread all over the length of the seam to minimize heat and warpage in any one area. It's just a matter of tacking all around until they all connect.
 |
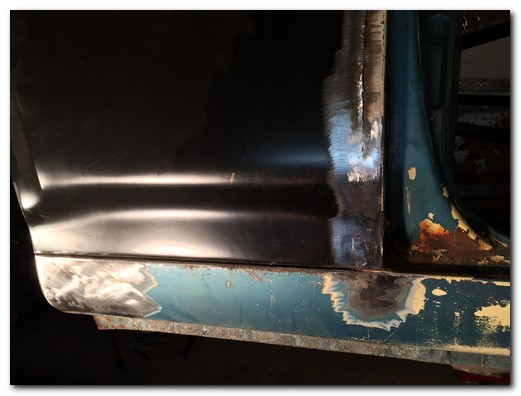 |
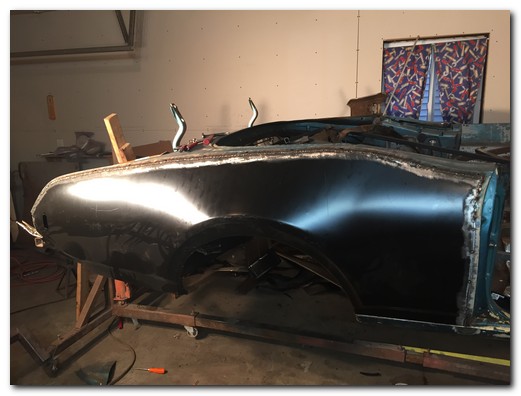
Once they are all joined the weld is dressed or ground down smooth. The seam is virtually invisible. I'll do a little shrinking and a skim coat of body filler and it will look like new.
The inner and outer wheelhouse for the drivers side are on back order so I'm on hold for the body work.
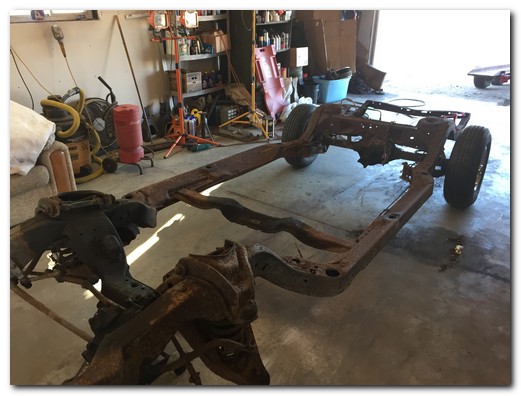
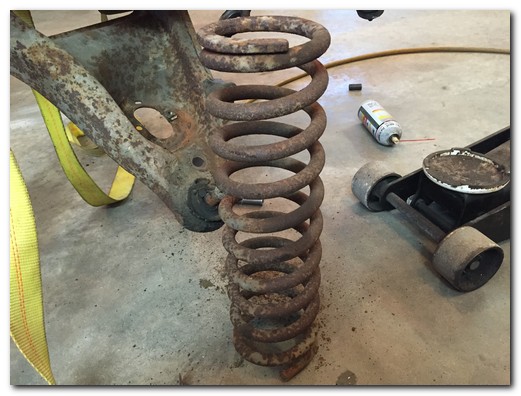
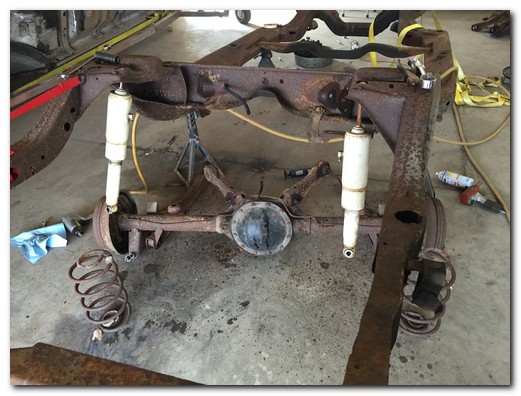
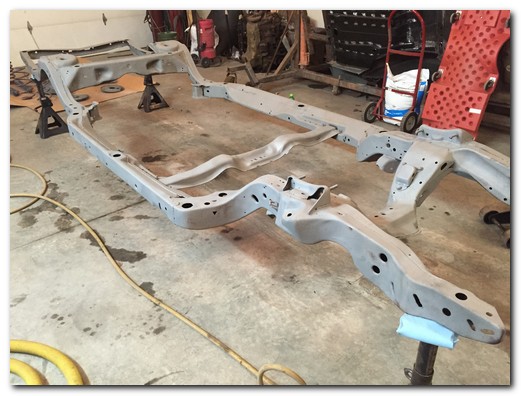
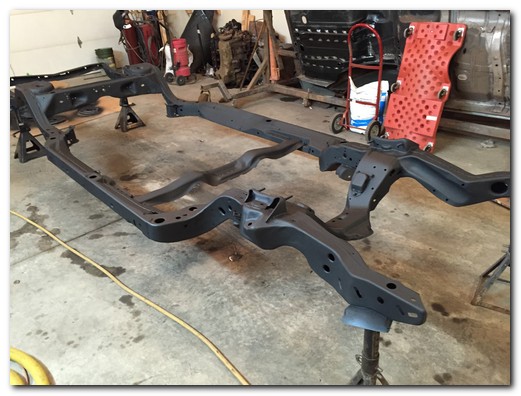
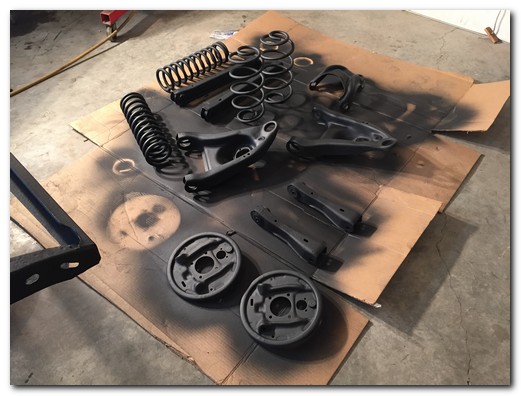
In the meantime I'm going to get started on the frame and suspension.
|
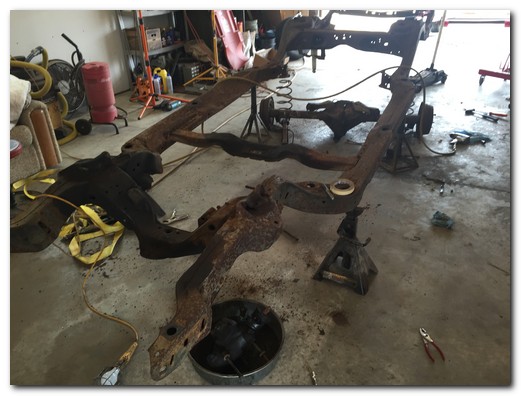
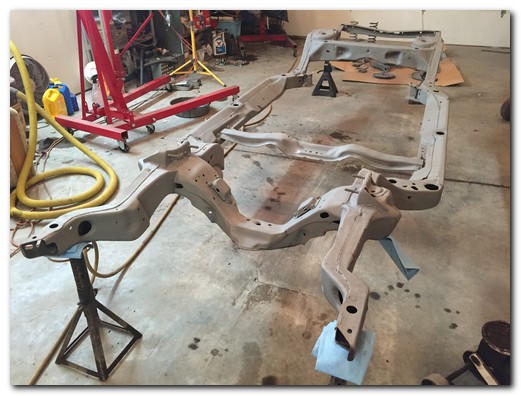
I rolled in the replacement frame. The original was badly
rusted and weakened in the rear. Finding a 69 convertible frame was a little challenge. This one needs a minor repair but overall is in good shape. |
 |
 |
|
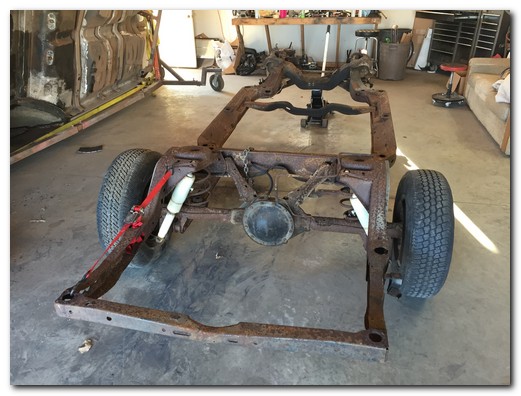 |
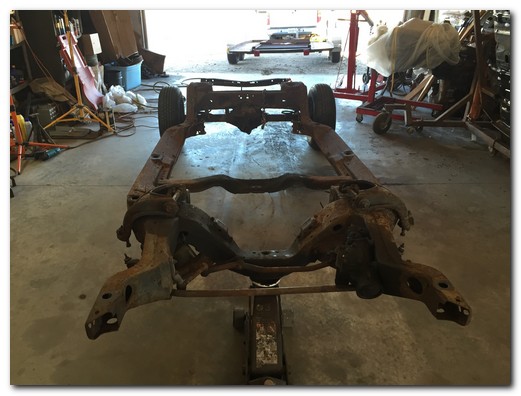
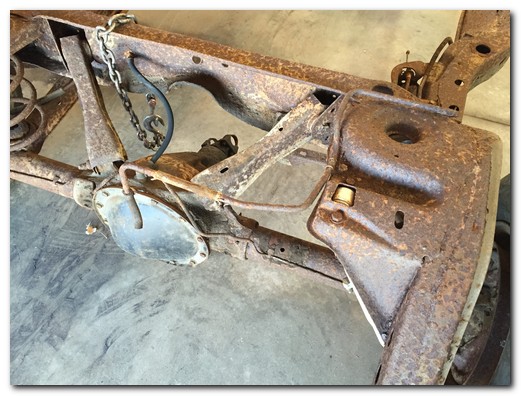
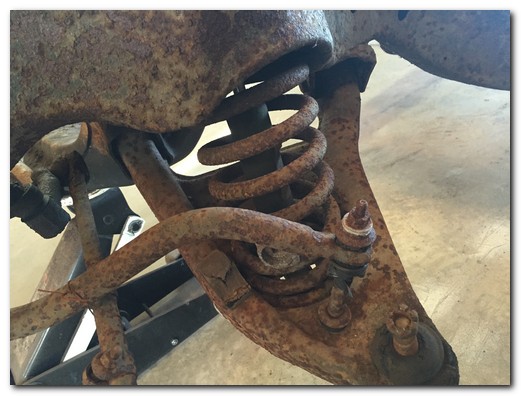
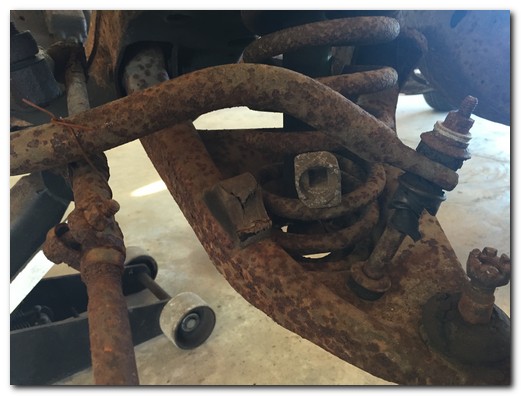
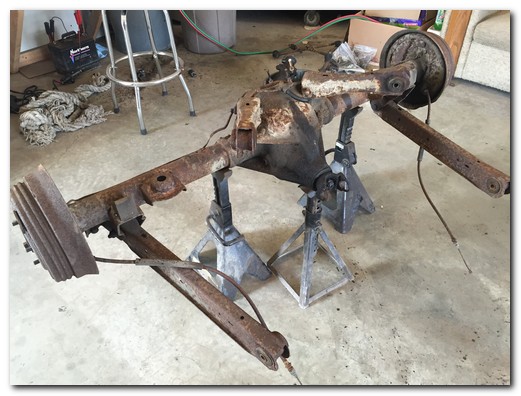
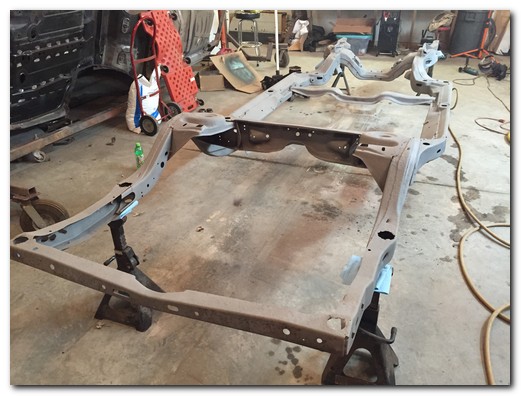
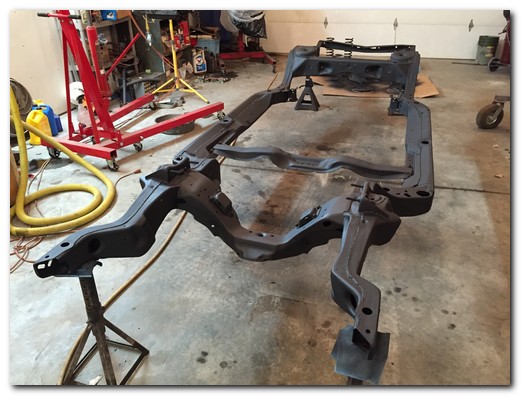
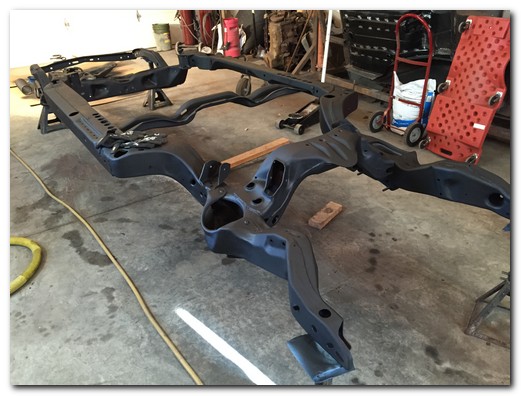
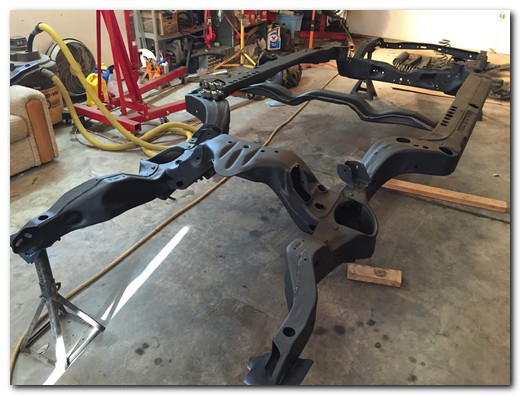
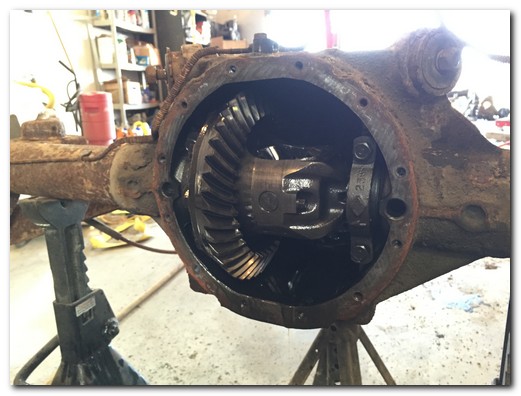
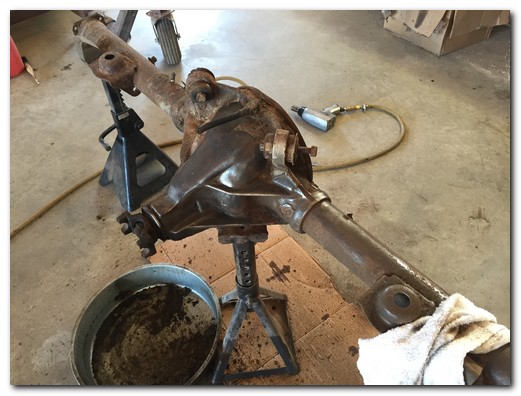
First step is to get it stripped of all the suspension, fuel and brake lines.
 |
|
 |
 |
 |
 |
 |
 |
 |
 |
 |
 |
 |
 |
 |
 |
 |
 |
 |
|
|
Updates almost daily I hope! | Contact me! john@57rustbucket |
Like on Facebook! |