57rustbucket.com
Differential, suspension and brakes
10/17
 |
 |
 |
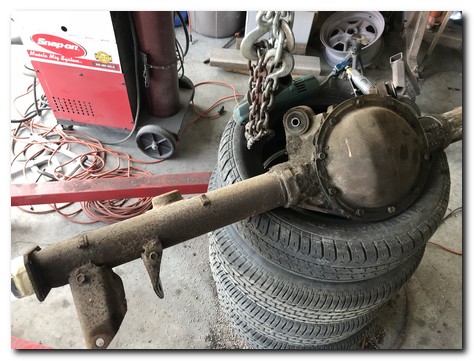
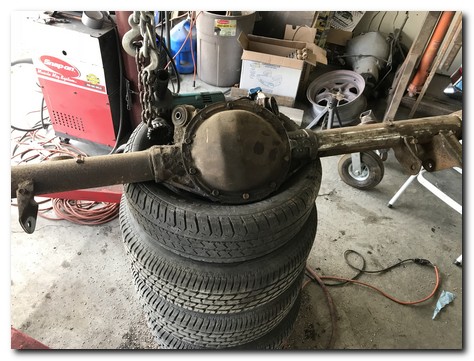
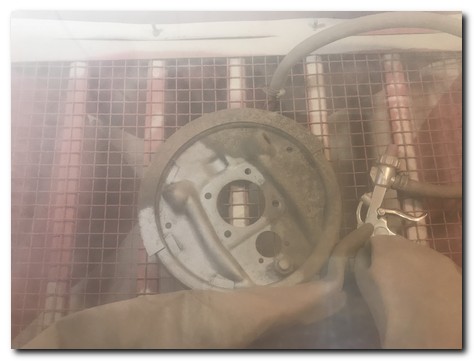
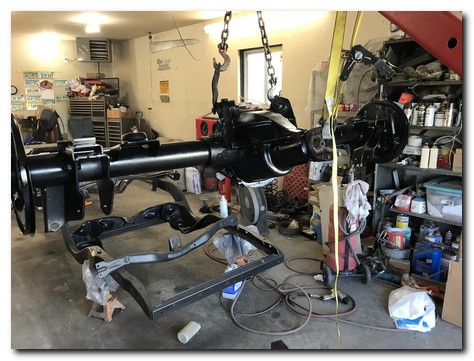
The differential was rebuilt recently so all it needs is a thorough cleaning and a fresh coat of paint. I used a combination of wire wheels, sanding discs, sandblaster and wire brushes to clean it up.
 |
 |
A lot of messy work but well worth the effort.
 |
 |
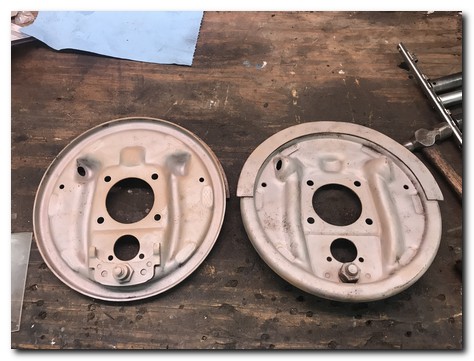 |
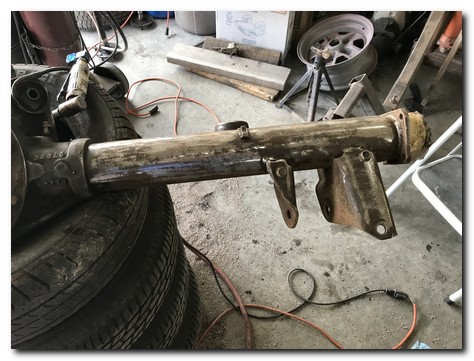
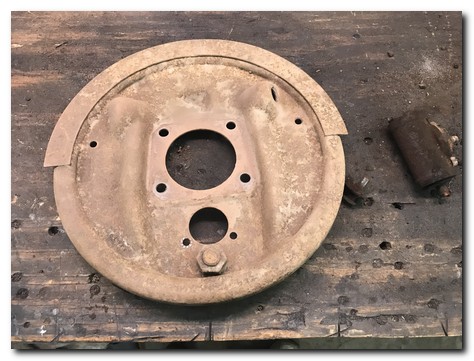
The rear brake backing plates were sandblasted along with various brackets and smaller components for the rear differential.
 |
 |
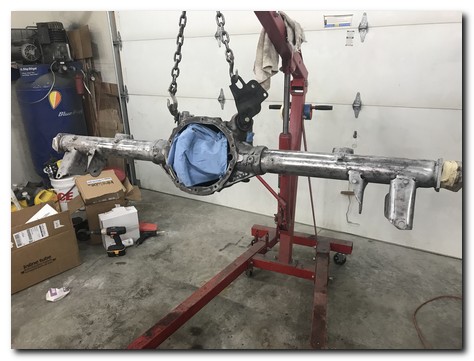
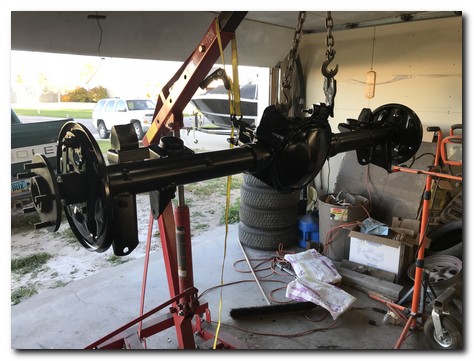
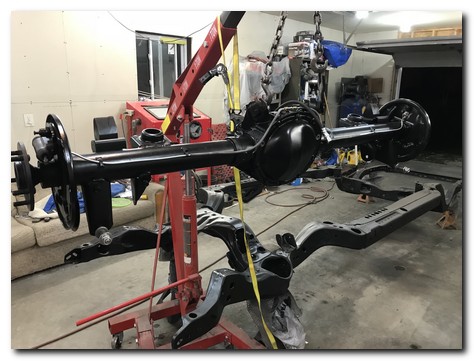
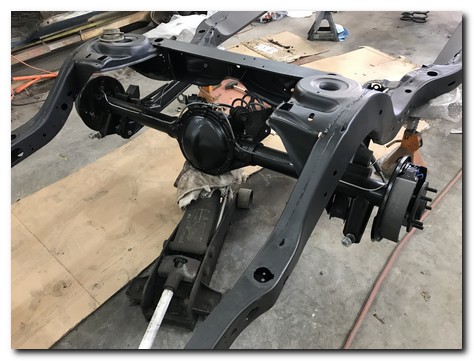
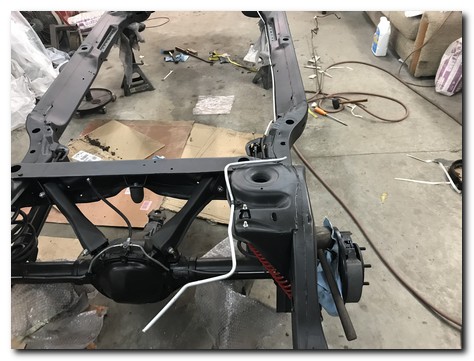
With everything assembled and a few coats of paint the rear differential looks like new.
 |
 |
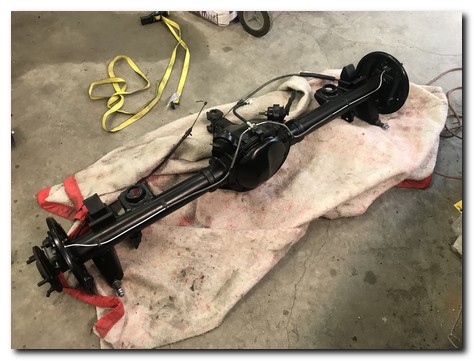
New rear wheel cylinders are installed and new brake lines bent and installed. A new brake hose and distribution block is also in place.
 |
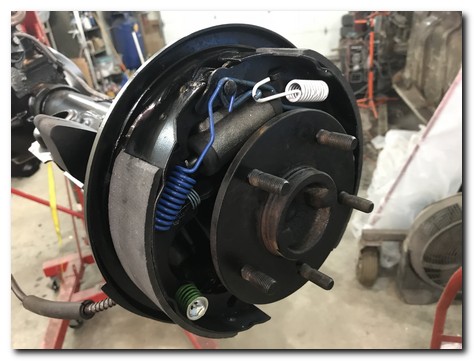 |
New brake shoes and hardware finish it out.
 |
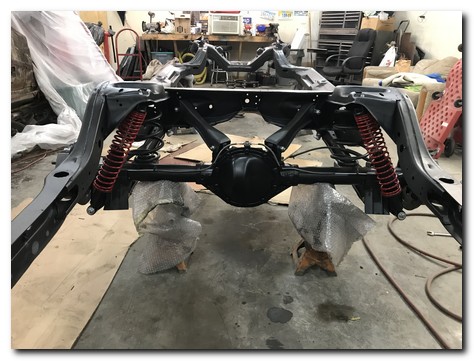 |
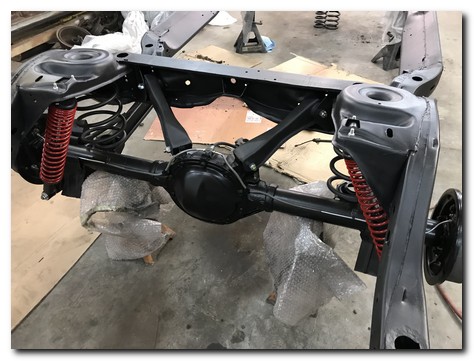
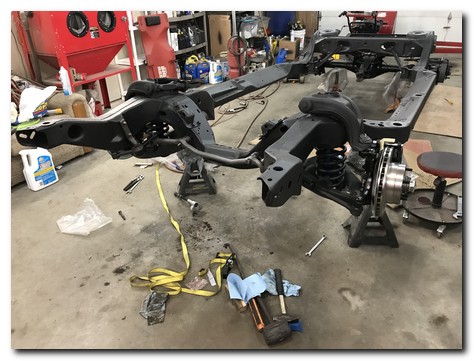
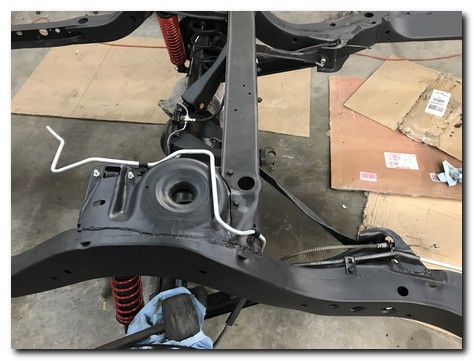
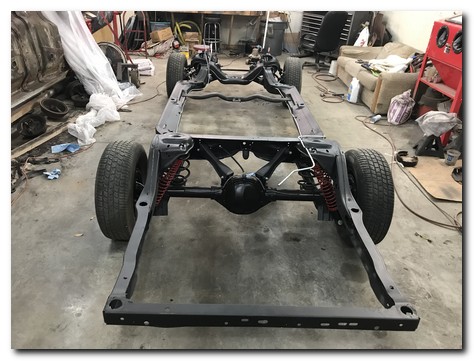
The differential is raised into place and the control arms, springs and new coil over shocks are reinstalled. All new grade 8 anodized hardware was used.
 |
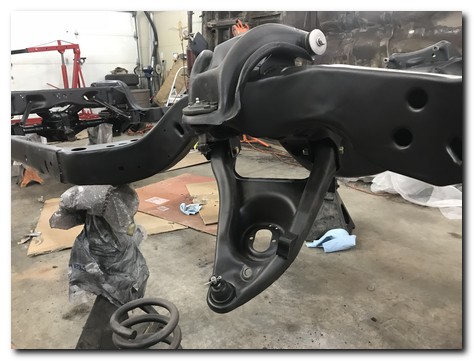 |
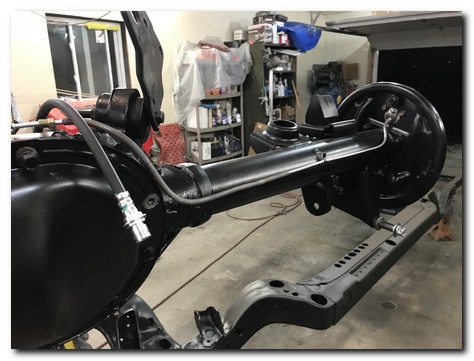
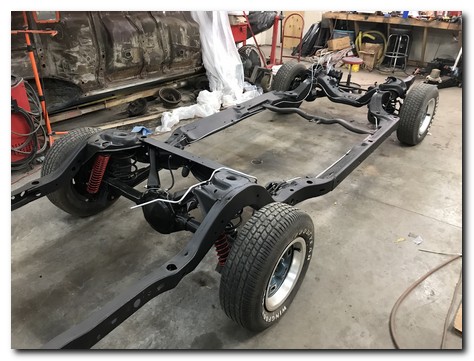
Moving to the front suspension, I installed the upper and lower control arms loosely. These have been rebuilt with all new bushings, ball joints and bump stop.
 |
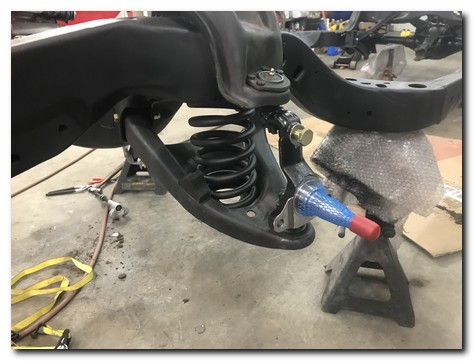 |
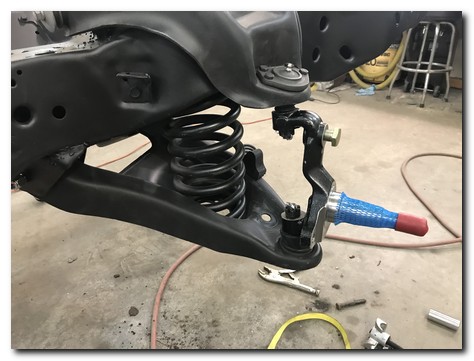
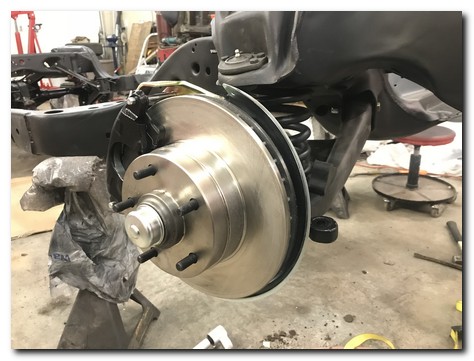
Then the springs and spindle for the aftermarket disc brakes was installed.
 |
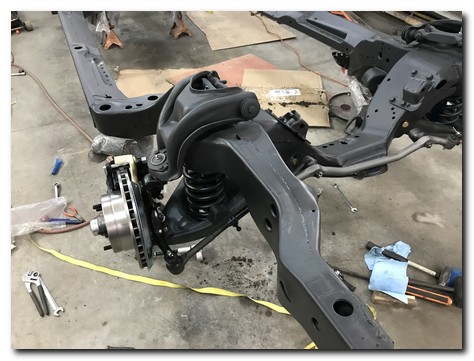 |
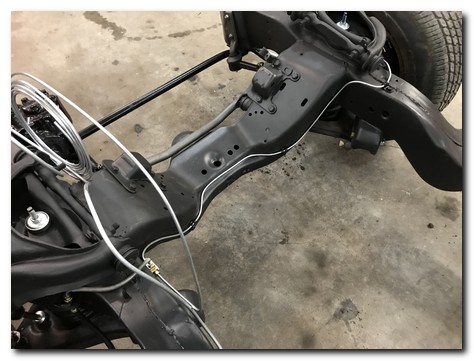
The remaining brake components are installed and I began installing all new steering parts. New tie rod ends, center link and idler arm.
 |
 |
 |
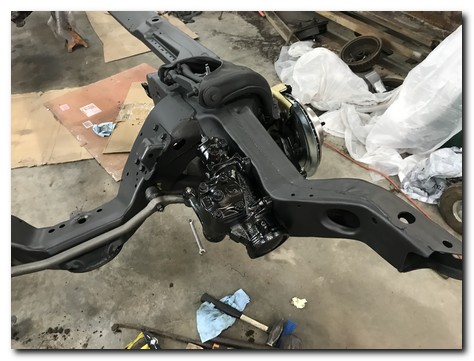
After the steering box is put into place the steering linkage is complete.
 |
 |
 |
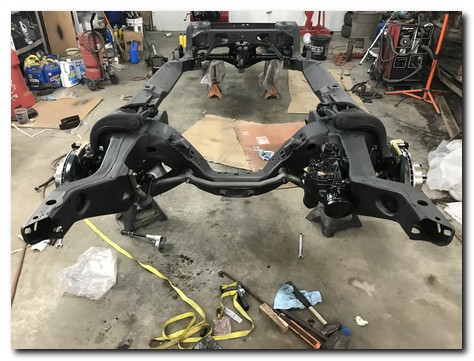
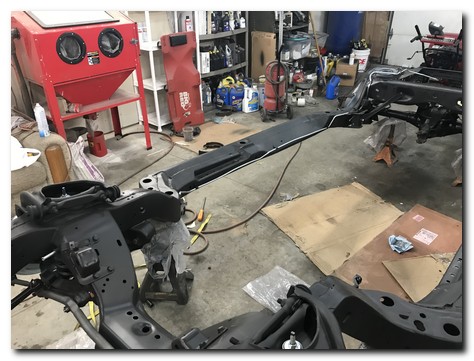
A lot of time was spent forming the 3/8" fuel line. It follows the inside of the passenger side of the frame tightly.
 |
 |
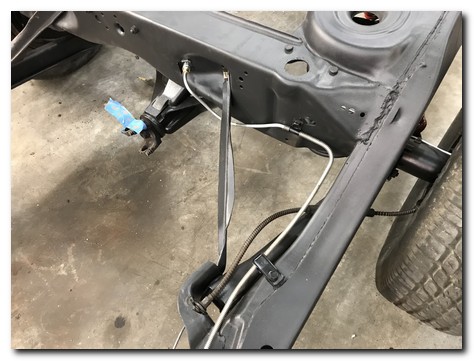 |
The rear brake line was formed and is run down the drivers side of the frame..
 |
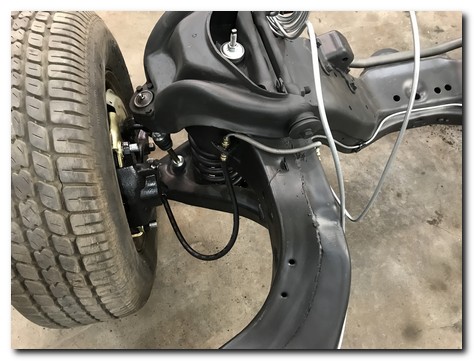 |
The front brake lines were carefully formed and put into place.
 |
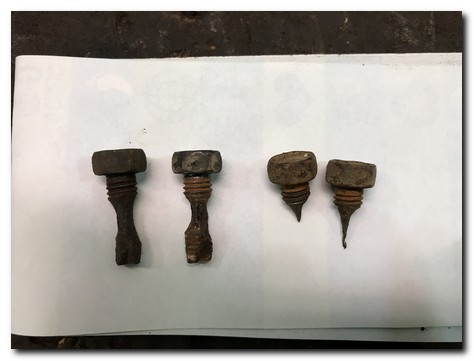 |
Once the sway bar is put in place, with new links, the frame is complete. The bolts in the picture on the right are the original sway bar mounting bolts! Hard to believe they were still holding.