1970 Triple Black 402 Big Block Monte Carlo Page 9
February 5th 2014
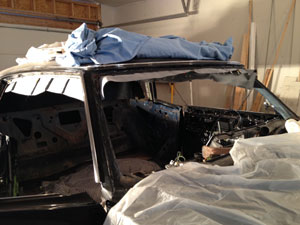
First on the agenda for the interior is installing the new headliner.
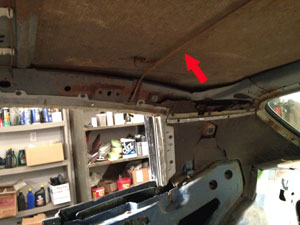
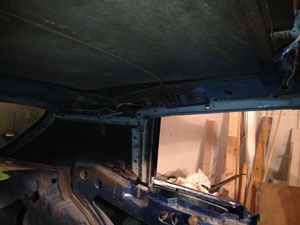
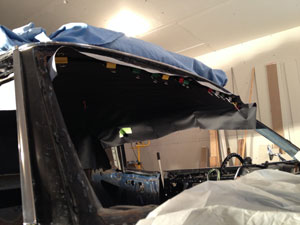
The shape of the headliner is held and defined by 5 bows that span the width of the roof as indicated by the red arrow on the left.
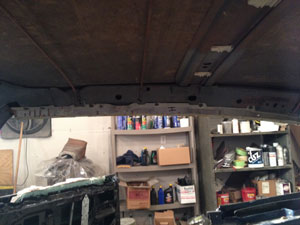
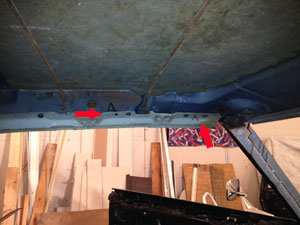
There is a tack strip that runs around the perimeter of the interior of the roof. The headliner edges attach to this.
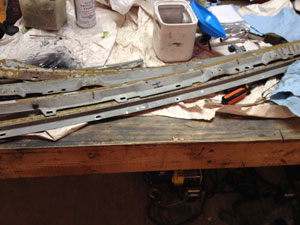
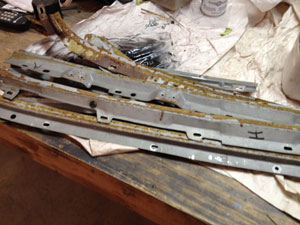
I marked all the tack strips in order to replace them in their original positions.
Then they were removed and all the old glue was wire brushed off. Look at this pile! See now why I marked their positions?
Starting with the center bow the headliner is installed. Then its a very time consuming pulling and stretching from front to rear and side to side to remove all the wrinkles.
A few dozen binder clips are used around the perimeter to hold the headliner in place as it's pulled and stretched.
I use 3M weather-strip adhesive to glue the headliner to the tack strips. This took many, many hours!
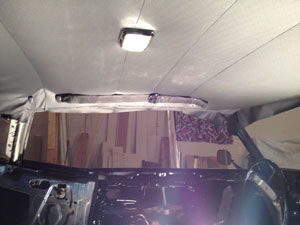
I installed the shoulder belts, their stowing clips, dome light, new rear view mirror, coat hooks and sun visors. I'll need to pull a little more at the rear C pillar and use a heat gun to remove the last of the wrinkles.
Looks great!
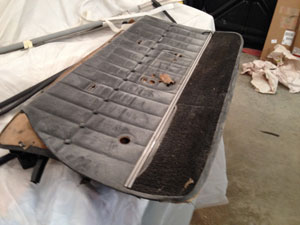
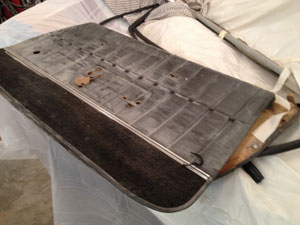
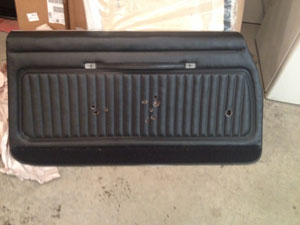
Here are the original door panels. Actually they are correct for a 71-72 Monte Carlo and not 1970. Either way they look like hell.
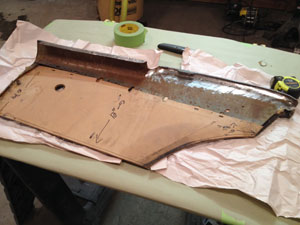
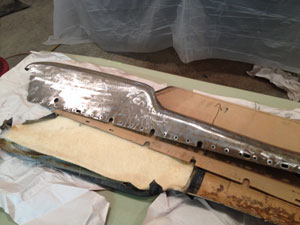
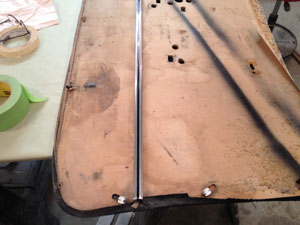
This is the back of the rear side panels. As you can see the panel is just heavy cardboard with a metal lip at the top. I'm going to reuse this metal top rail on the new panel. I removed it from the old panel after a lot of measurements and cleaned it up.
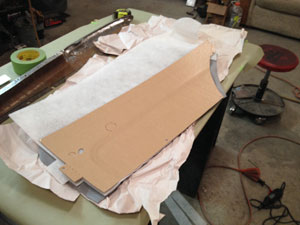
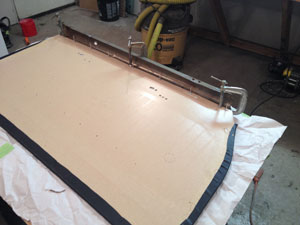
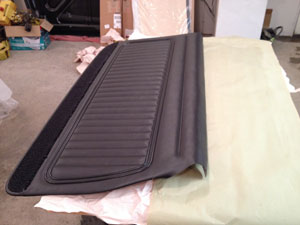
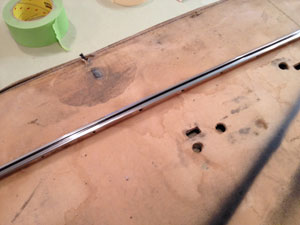
This is the back of the new rear panel. I need to attach the top rail to it.
I'm impressed with the quality and proper shape of the panels.
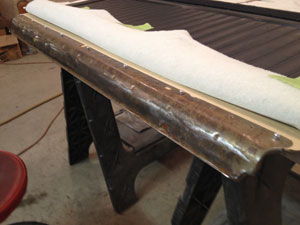
After determining the proper position the rail is clamped in place. Several holes are drilled through the rail and panel.
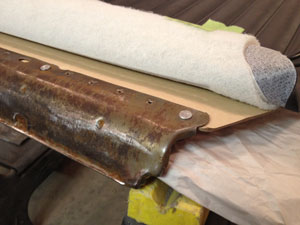
Pop rivets are then used to attach the rail to the panel.
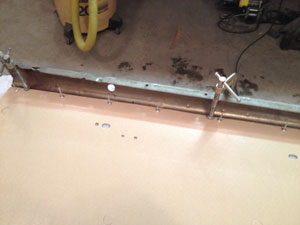
Pop rivets leave quite a long part sticking out on the back side.
These are easily flattened out with a hammer and dolly.
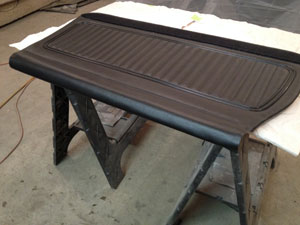
After it's all flat and true the material is pulled over the rail and glued down with contact cement.
It's starting to look like something!
Here we have the drivers door panel after installing the pull strap and cutting all the holes needed for window crank, door handle etc. I also installed the fuzzy or window seal going across the top of the panel. Many people use pop rivets for this but I prefer to use staples like the factory did. I still need to install two horizontal stainless trim pieces.
These stainless steel trim pieces have been polished to a mirror shine and the center painted black and are ready to be installed.
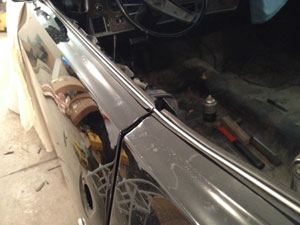
I also installed the outer fuzzies or window seals on the door and rear quarters.
They line up perfectly!
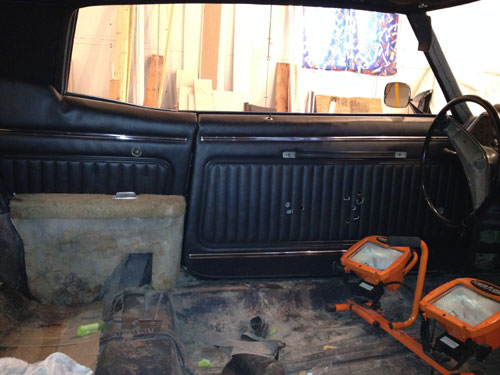
Both front and rear panels set in place to verify fitment.
New door and quarter glass needs to be installed before they can be permanently installed.