

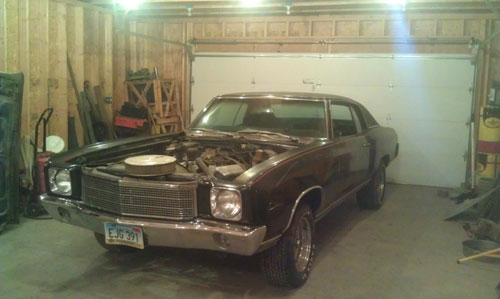
March 27th 2014
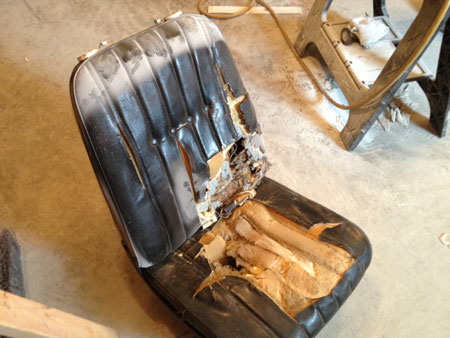
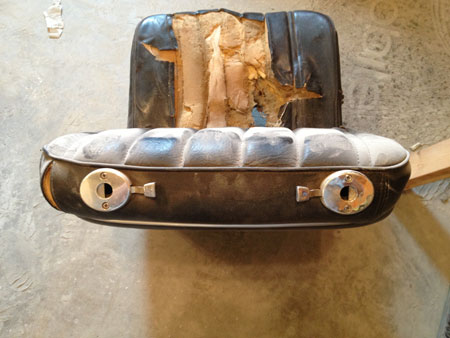
Here's what I'm starting with for the front seats. The cushions and covers are trashed. The frame and springs are in remarkably good shape.
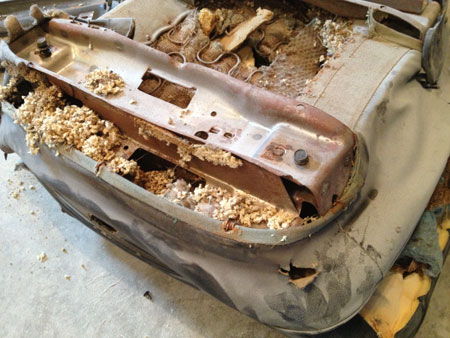
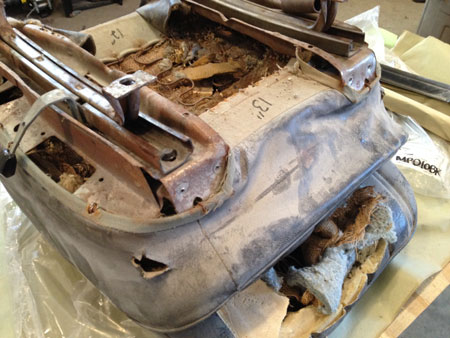
The mice have had a field day with these poor seats.
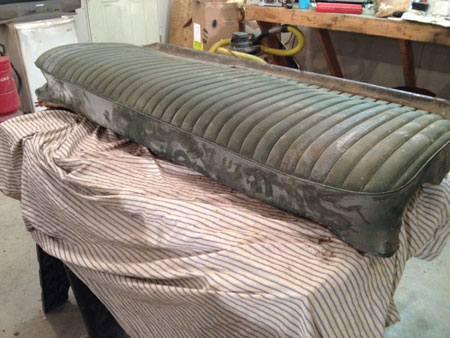
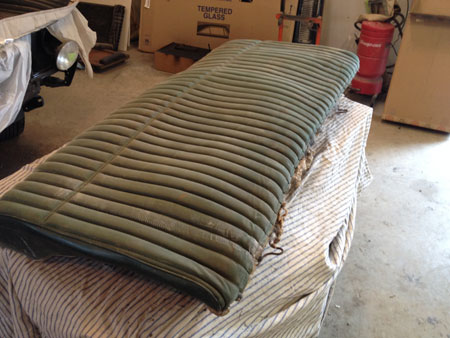
The rear seat is from a donor car. They are in really good shape as well. Just in need of new foam cotton and covers.
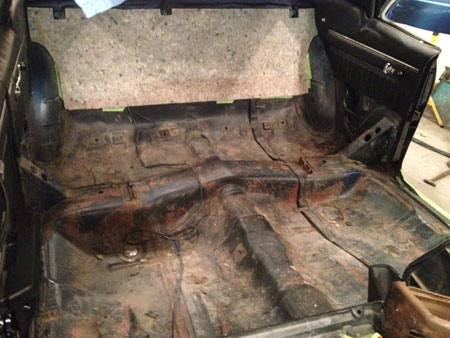
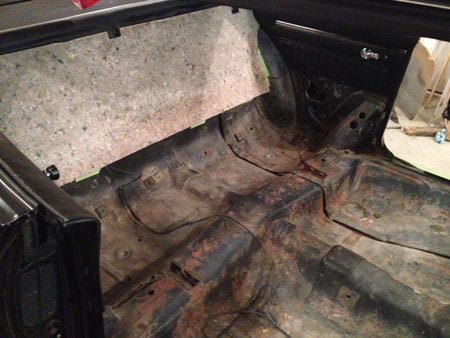
On to the interior. As can be seen here the floor pan is solid and ZERO rust. It needs a good cleaning to prepare for the sound deadener.
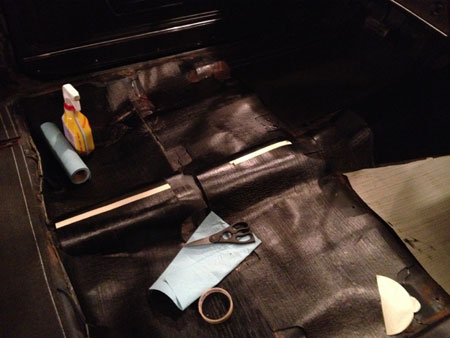
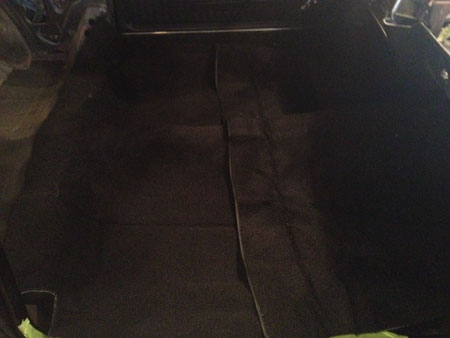
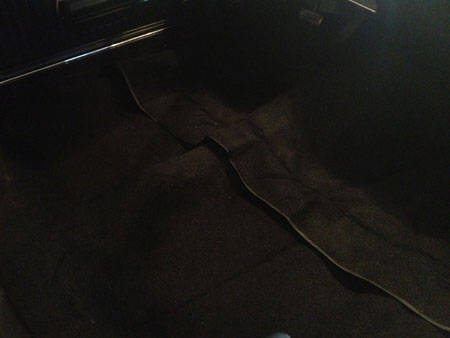
I've laid the molded carpet in place. If it were summer I would have placed it out in the sun to soften it up and remove the creases from being packaged up. I needed to spend quite a bit of time after these pictures were taken with a heat gun to "relax" it and form it to the contours of the floor.
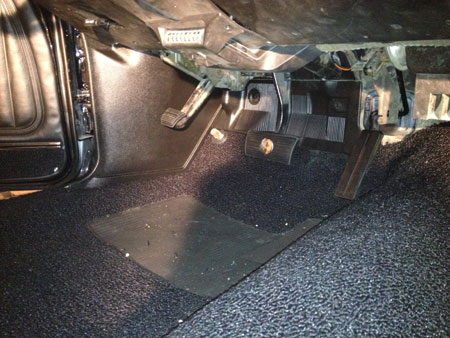
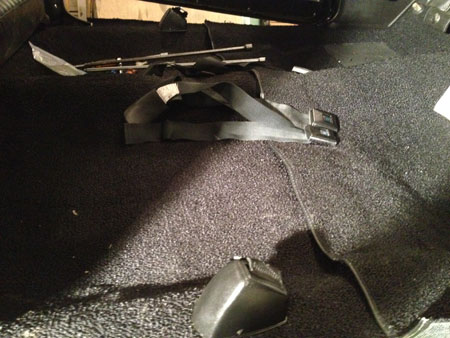
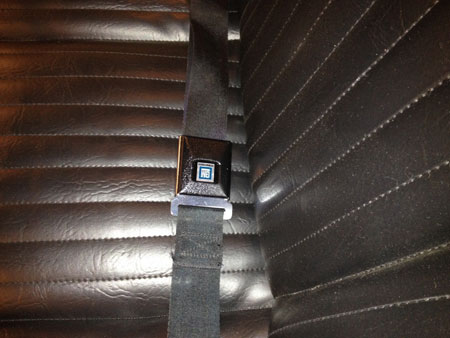
New gas pedal, brake and parking brake pads. I've also installed the restored kick panels. All the seat belts are also installed. They also came from a donor and look like new.
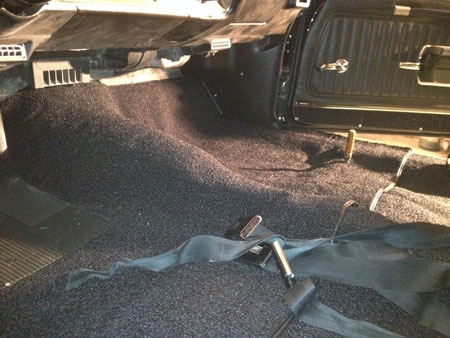
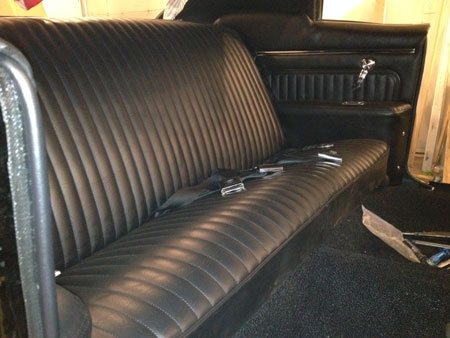
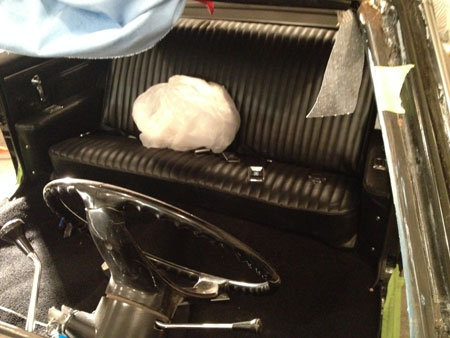
This is a big step! The rear seat and rear armrests are installed for the last time. The seat is so comfortable and fits perfectly.
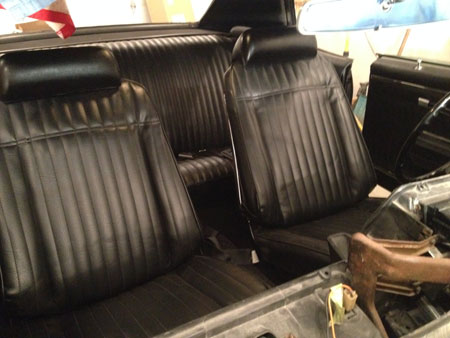
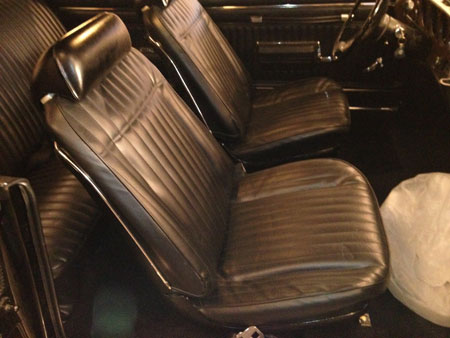
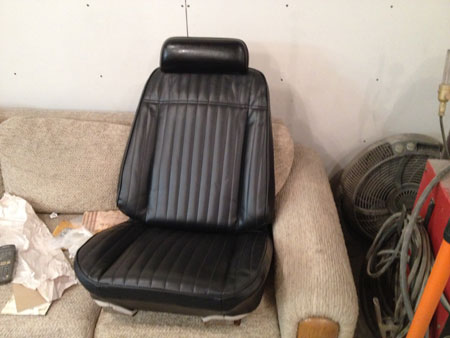
Front seats in! It's like a car again!
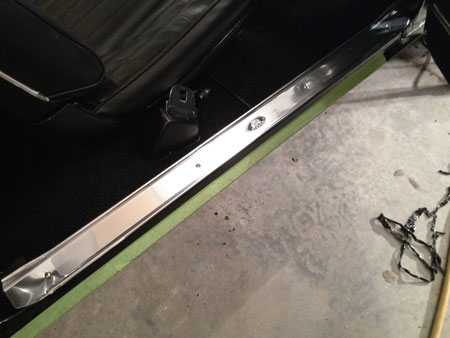
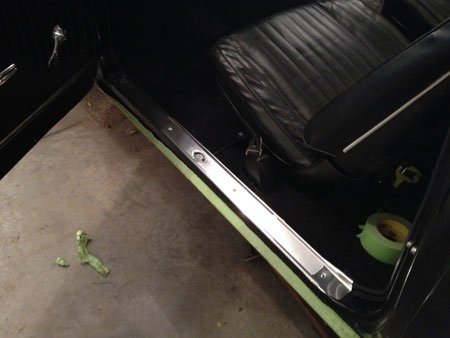
Brand new shiny sill plates installed. These types of things are really fun to put on. They are like putting jewelry on.
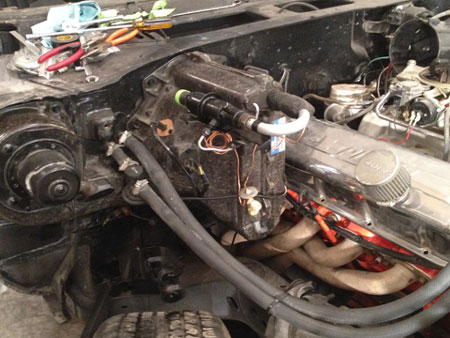
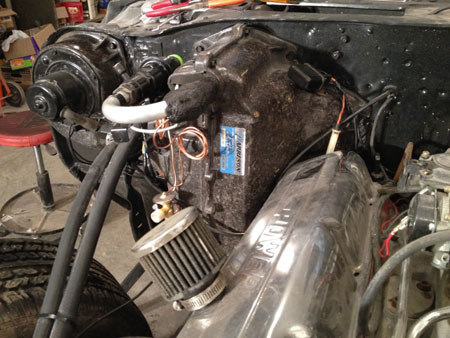
I also completely disassembled the air conditioning box. I cleaned the case and all parts. The brackets, screws and bolts were sandblasted and painted. The evaporator was replaced and the case sealed together. A replacement POA valve was tested and calibrated for use with R134 refrigerant. I also installed a new expansion valve and sealed the bulb of it to the evaporator with the correct cork tape. The final touch was the proper Harrison sticker installed exactly where the original one was. A lot of work but it will sure be appreciated in a triple black car on a hot summer day.
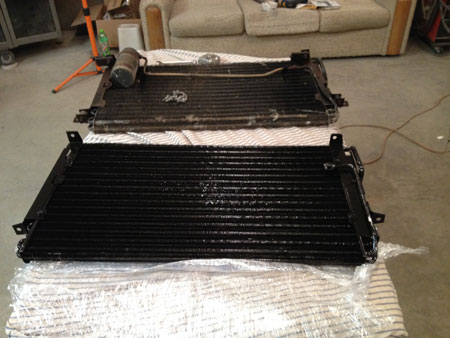
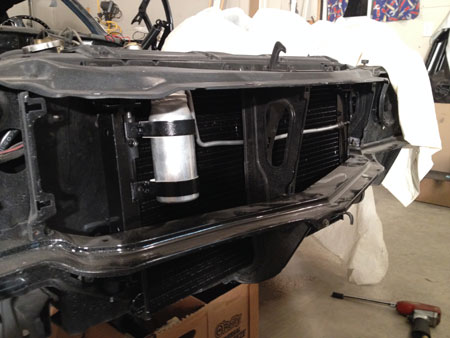
I removed all the brackets and hard line from an original condenser. The brackets were sand blasted and painted. New rubber mounts and drier were used and installed on the car.
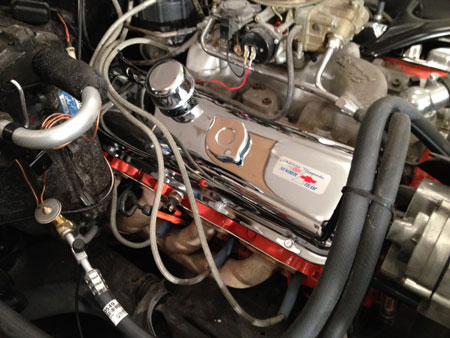
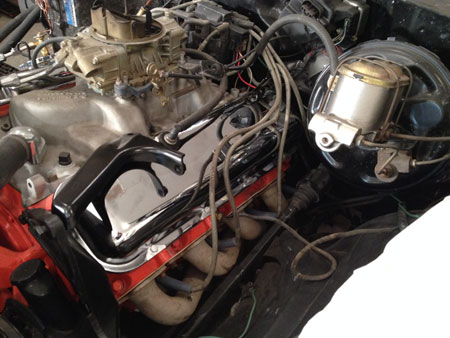
New original style valve covers in place with the proper Tonawanda sticker were installed. I'm waiting on a couple compressor mounts to finish the A/C system.
I've got a lot less parts and a lot more car. Cool!